AI user input notification light
Introduction
When an AI client like Claude Code or Codex runs for a while, it sometimes needs user input before it can continue. That is easy to miss when the terminal is not in front of you, or when you run multiple clients at once.
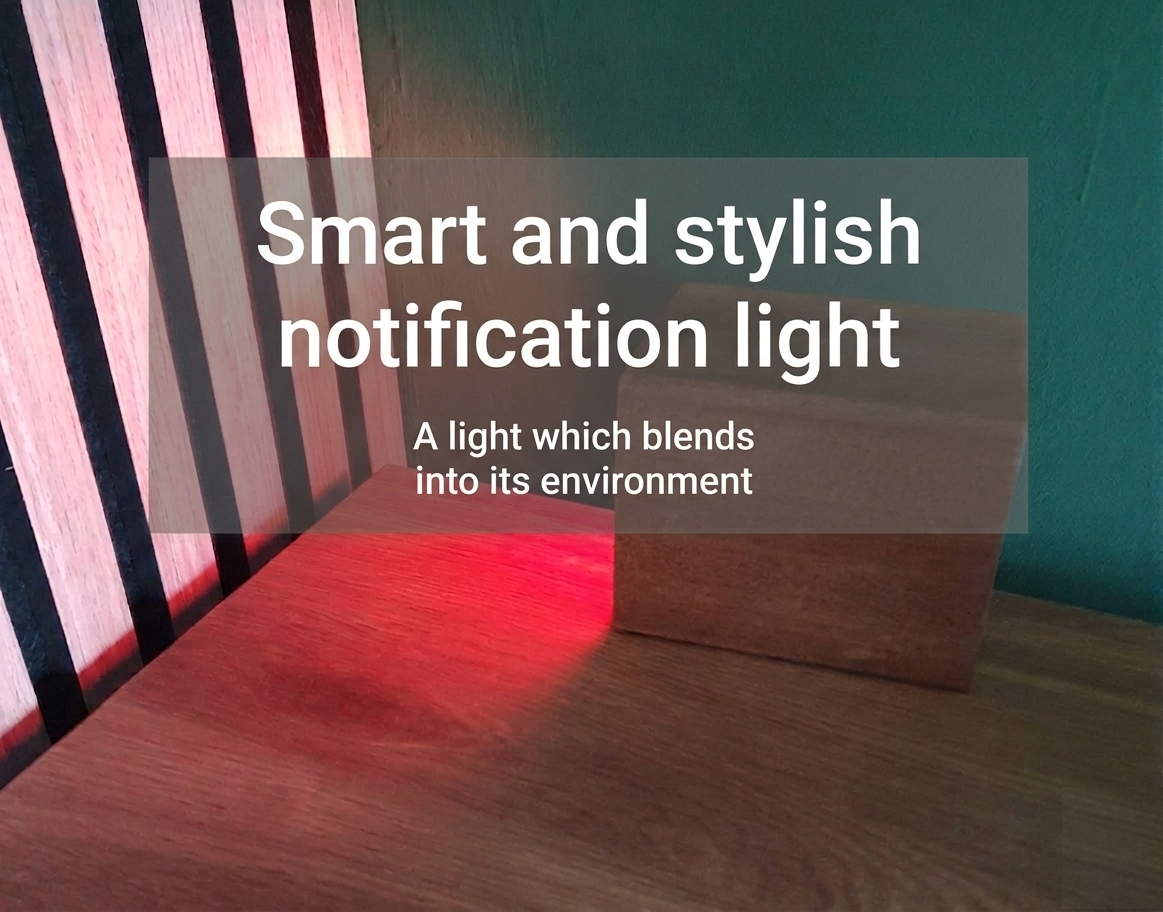
I first solved this with a sound and a popup notification on my screen. Since I already had a smart notification light on my desk, I extended the setup to alert me with a visual trigger as well.
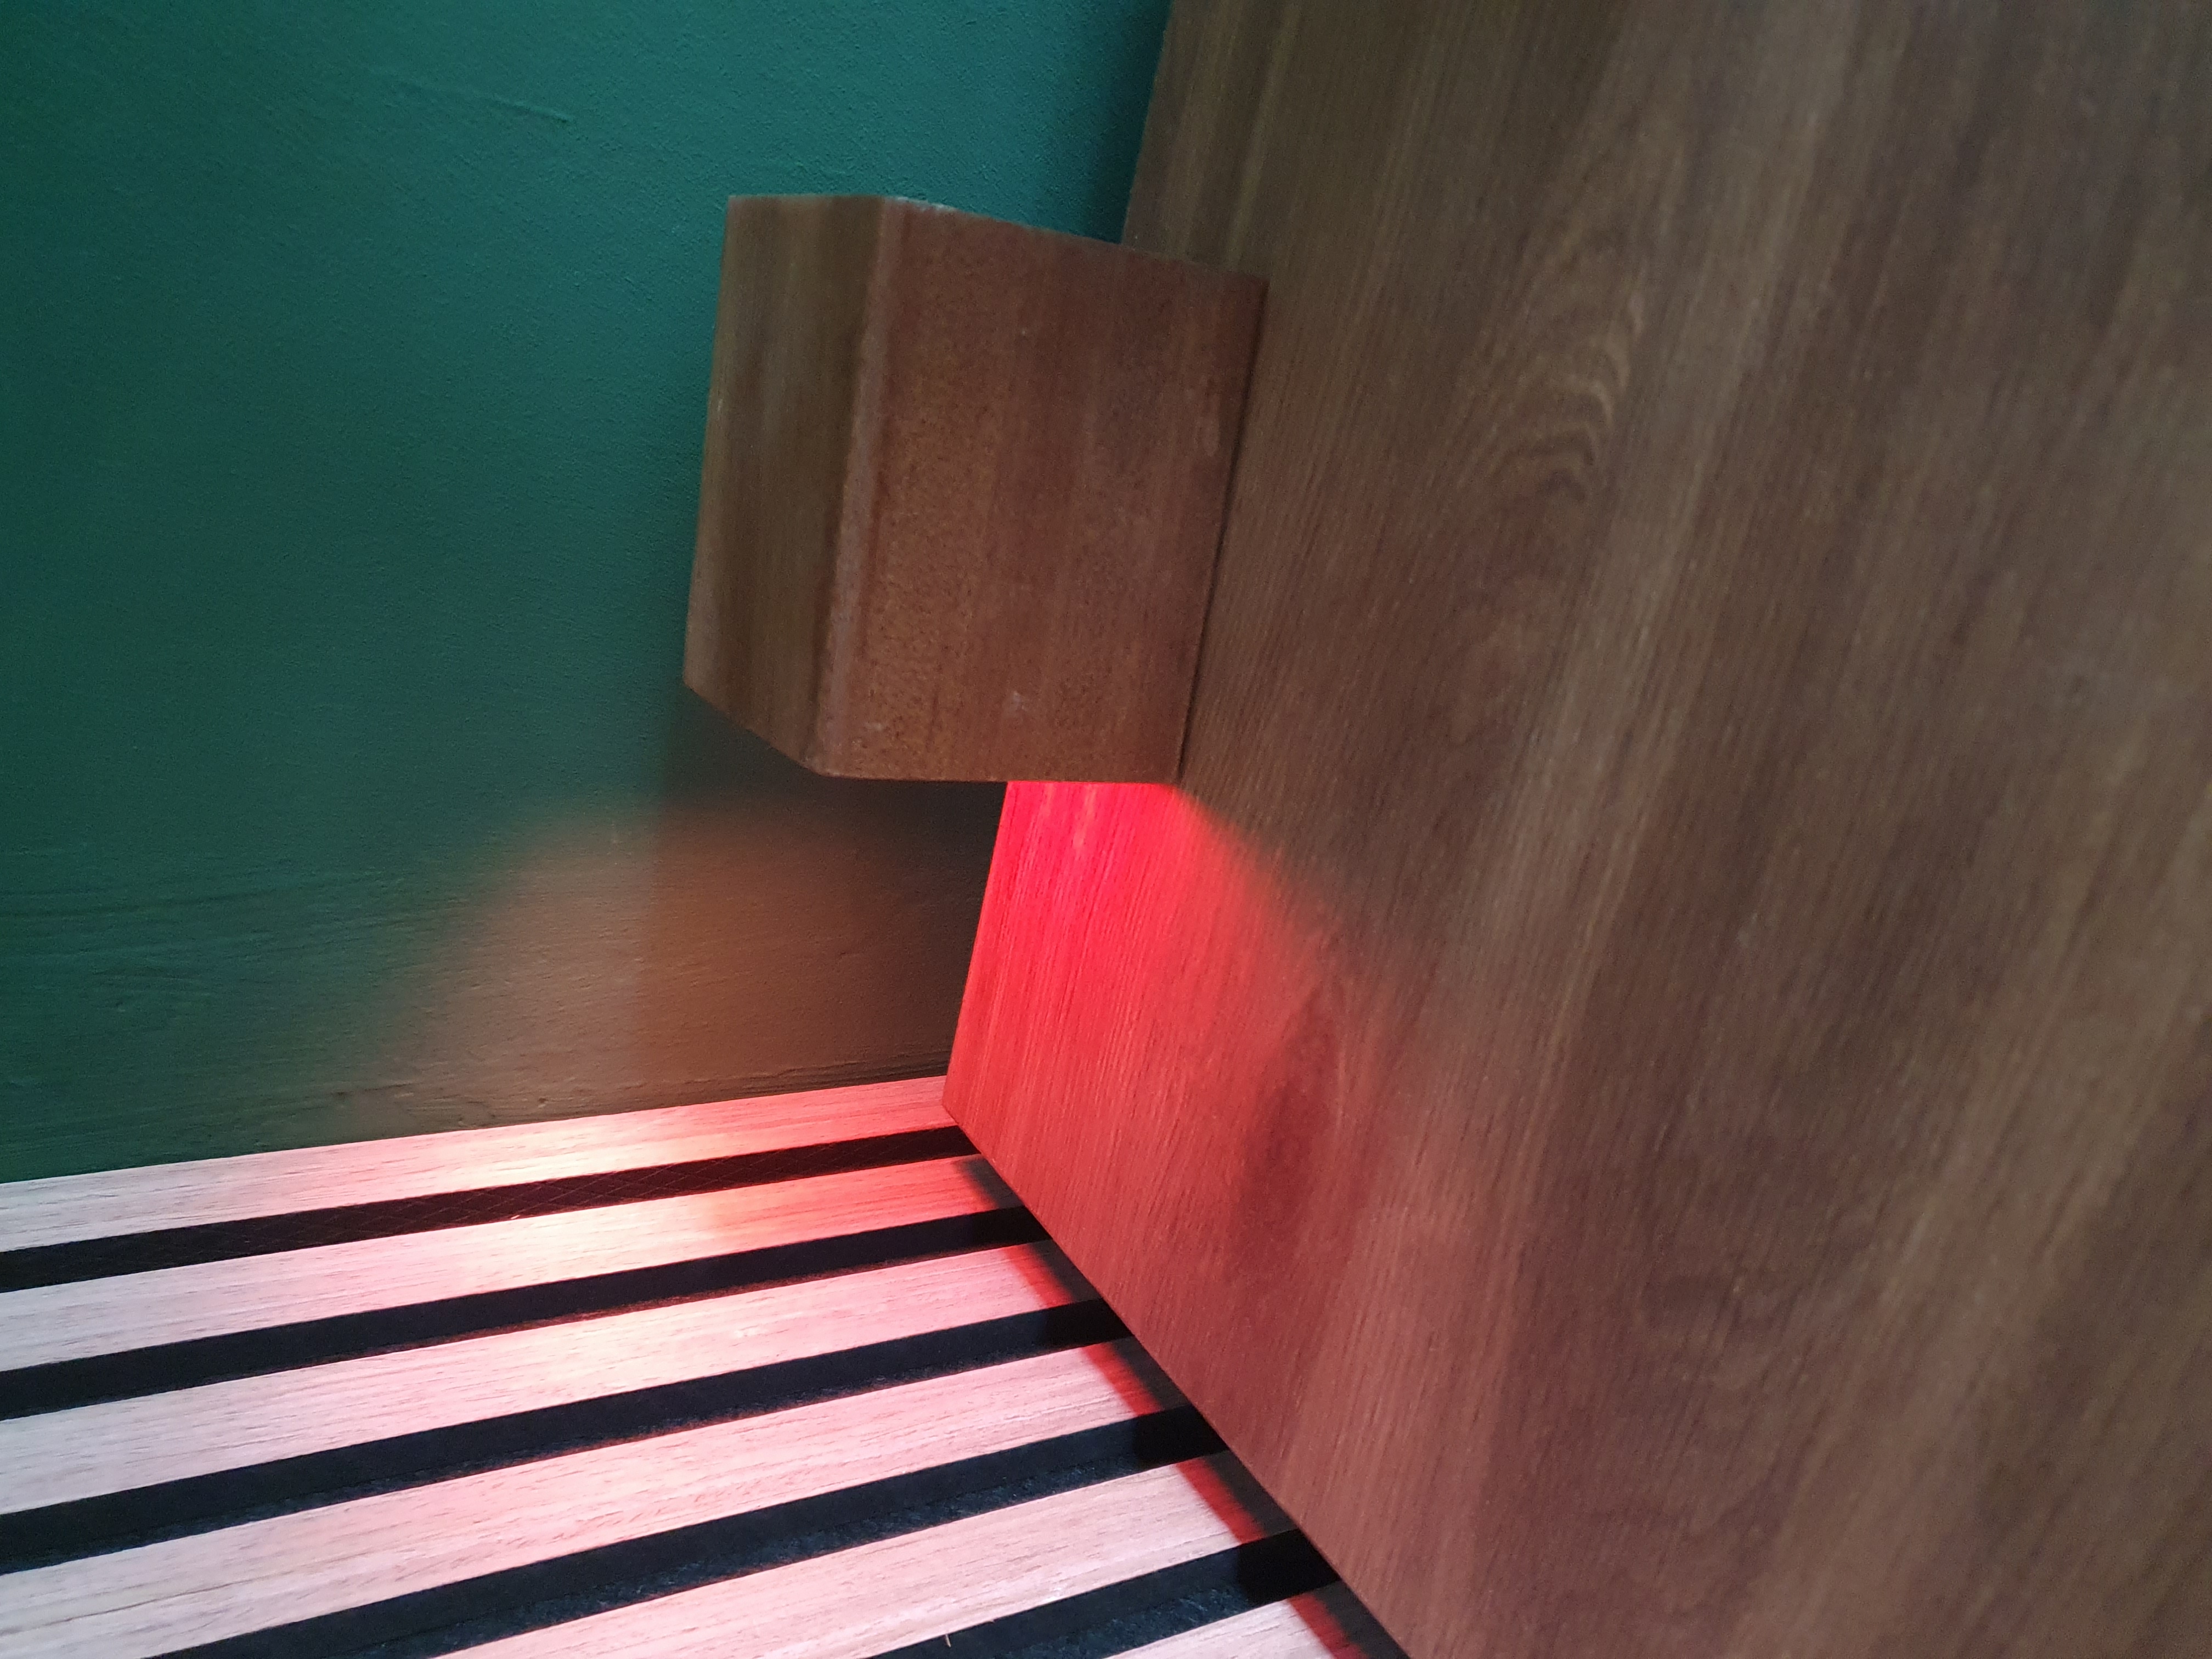
The light itself is an earlier project, described on the Smart and stylish notification light page. That page explains how to build it with a GU10 smart bulb in a stylish pencil holder.
An automation to trigger the light was already in place, so this is only a small update. The missing link was sending an MQTT message to a specific topic from the AI client through a hook whenever it needs user input. Node-RED listens to that topic and turns the smart notification light blue for 5 seconds when an AI client needs attention.

The same smart notification light can be reused for Claude Code and Codex alerts.
Table of Contents
- What it does
- What you need
- Install MQTT client
- Create the MQTT script
- Add AI hooks
- Create the Node-RED flow
- Test the notification
What it does
Claude Code and Codex support hooks that run commands when certain events happen. This example uses those hooks to publish a small MQTT message.
The flow is:
- Claude Code or Codex needs attention.
- A hook runs
~/mqtt_ai_agent.sh. - The script publishes a message to the MQTT topic
ai-agent. - Node-RED listens to that topic.
- Node-RED turns the smart light blue.
- After 5 seconds, Node-RED turns the light off again.
This is useful for:
- a permission request;
- a user input question;
- a Claude Code or Codex stop event;
- any other hook you want to make visible in the room.
What you need
For this setup you need:
- Claude Code or Codex installed on your computer.
- An MQTT broker, for example the MQTT broker used by Home Assistant.
mosquitto_pubinstalled on the computer where Claude Code or Codex runs.- Node-RED connected to the same MQTT broker.
- A smart light that Node-RED can control.
If you still need to build the light, first follow this project:
Smart and stylish notification light
Install MQTT client
Install Mosquitto so the hook script can publish MQTT messages.
On macOS, install it with Homebrew:
brew install mosquitto
After installing, check that mosquitto_pub is available:
mosquitto_pub --help
Create the MQTT script
Create the file ~/mqtt_ai_agent.sh.
#!/usr/bin/env bash

HOOK="${1:-user-input}"

mosquitto_pub \
    -h "192.168.x.x" \
    -p 1883 \
    -u "username" \
    -P "password" \
    -t "ai-agent" \
    -m '{"hook":"'"$HOOK"'"}'
Change these values:
192.168.x.x: the IP address of your MQTT broker.username: your MQTT username.password: your MQTT password.ai-agent: the MQTT topic, if you want to use another topic name.
Make the script executable:
chmod +x ~/mqtt_ai_agent.sh
You can test it manually:
~/mqtt_ai_agent.sh permission
This should publish this MQTT message:
{
  "hook": "permission"
}
Add AI hooks
Claude Code hooks
Open the Claude Code settings file:
~/.claude/settings.json
Add these hooks:
{
  "hooks": {
    "Stop": [
      {
        "hooks": [{ "type": "command", "command": "~/mqtt_ai_agent.sh stop" }]
      }
    ],
    "PermissionRequest": [
      {
        "hooks": [{ "type": "command", "command": "~/mqtt_ai_agent.sh permission" }]
      }
    ],
    "PreToolUse": [
      {
        "matcher": "AskUserQuestion",
        "hooks": [{ "type": "command", "command": "~/mqtt_ai_agent.sh ask-user-question" }]
      }
    ]
  }
}
The most useful one for me is PermissionRequest.
When Claude Code asks for approval, the light flashes blue so I know it is waiting for me.
Codex hooks
Codex can also run lifecycle hooks. Use these if you want the same notification light for Codex approval requests, or for when a Codex turn finishes.
Create or edit this file:
~/.codex/hooks.json
Add these hooks:
{
  "hooks": {
    "PermissionRequest": [
      {
        "hooks": [
          {
            "type": "command",
            "command": "~/mqtt_ai_agent.sh codex-permission",
            "statusMessage": "Sending Codex permission notification"
          }
        ]
      }
    ],
    "Stop": [
      {
        "hooks": [
          {
            "type": "command",
            "command": "~/mqtt_ai_agent.sh codex-stop",
            "statusMessage": "Sending Codex stop notification"
          }
        ]
      }
    ]
  }
}
The PermissionRequest hook is the useful one: it triggers when Codex asks before running a command or tool.
The Stop hook runs when a Codex turn stops, which is handy if you want a signal when Codex is done and waiting for the next prompt.
After adding or changing Codex hooks, open Codex and run:
/hooks
Review and trust the new hook. Codex skips unmanaged command hooks until they are trusted.
If you prefer to define hooks in ~/.codex/config.toml, the same setup can also be written inline:
[[hooks.PermissionRequest]]

[[hooks.PermissionRequest.hooks]]
type = "command"
command = "~/mqtt_ai_agent.sh codex-permission"
statusMessage = "Sending Codex permission notification"

[[hooks.Stop]]

[[hooks.Stop.hooks]]
type = "command"
command = "~/mqtt_ai_agent.sh codex-stop"
statusMessage = "Sending Codex stop notification"
Use either ~/.codex/hooks.json or inline hooks in ~/.codex/config.toml, not both.
Defining both in the same config layer works, but Codex will warn about it.
Create the Node-RED flow
In Node-RED, create a flow that listens to the MQTT topic ai-agent.
The basic flow is:
- MQTT-in node subscribes to
ai-agent. - JSON node parses the message.
- Switch node checks the
hookvalue, for examplepermission,codex-permission, orcodex-stop. - Call service node turns the smart light on in blue.
- Delay node waits 5 seconds.
- Call service node turns the smart light off.
The light service call in Home Assistant can use a blue RGB value:
service: light.turn_on
target:
  entity_id: light.notification_light
data:
  rgb_color:
    - 0
    - 80
    - 255
  brightness_pct: 100
After 5 seconds, turn it off:
service: light.turn_off
target:
  entity_id: light.notification_light
Replace light.notification_light with your own light entity.
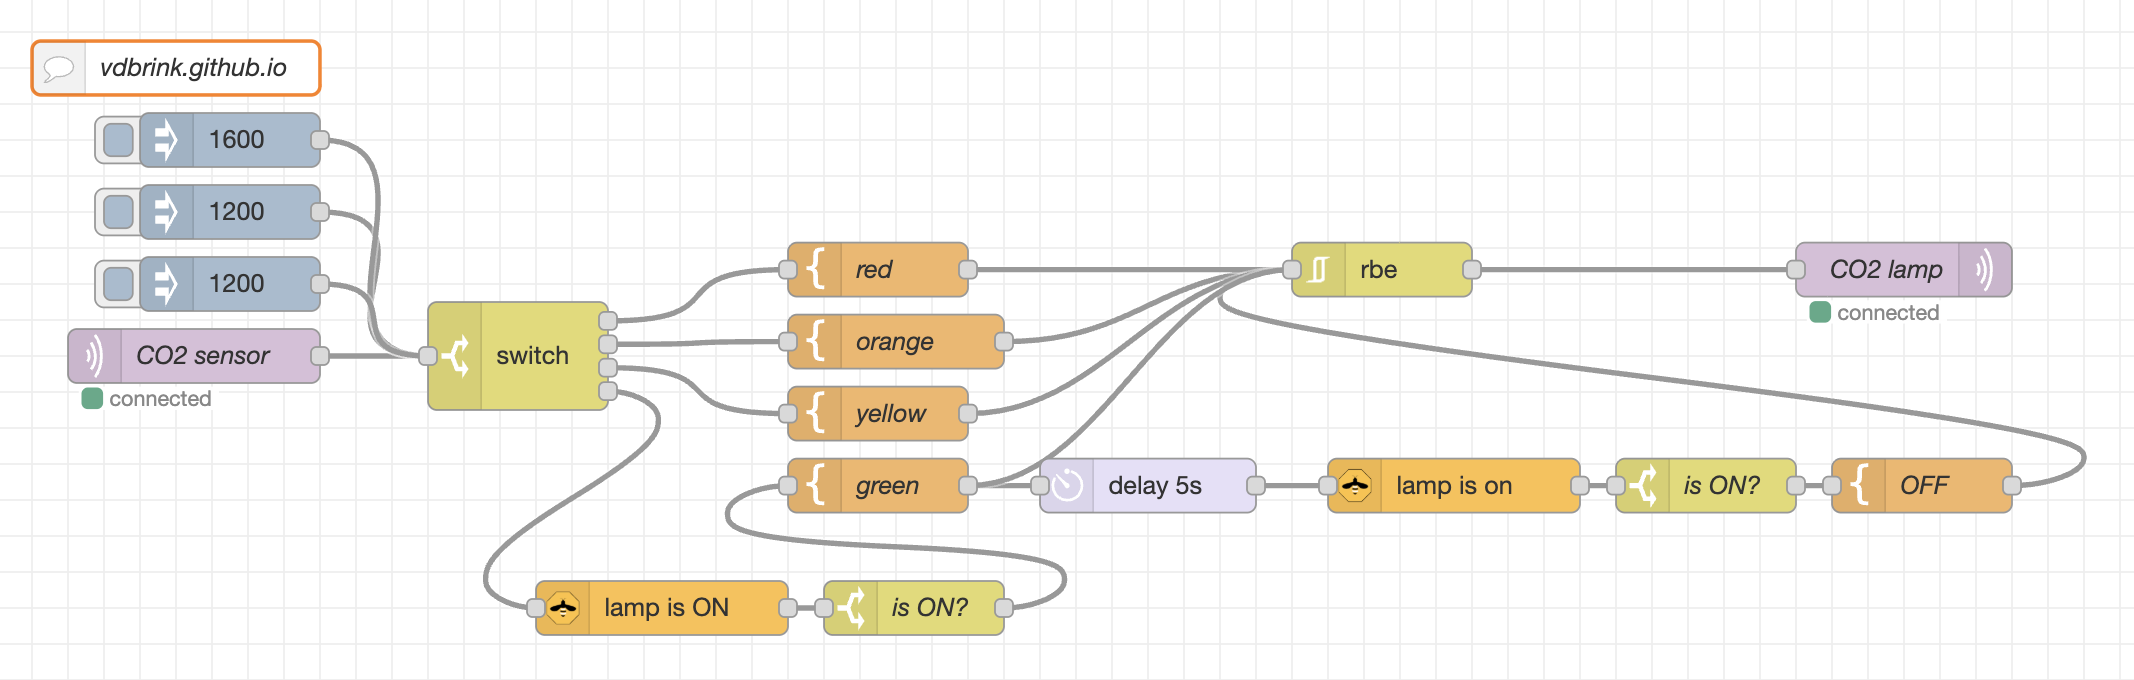
The Node-RED flow from the smart notification light project can be reused as a starting point.
Test the notification
Run the script manually:
~/mqtt_ai_agent.sh permission
If everything is connected correctly, Node-RED receives the MQTT message and the smart notification light turns blue for 5 seconds.
After that, use Claude Code as normal. When it asks for permission or needs user input, the light notification triggers automatically.
For Codex, run:
~/mqtt_ai_agent.sh codex-permission
If that works, start Codex and trust the hook with /hooks.
The notification then triggers when Codex asks for permission, and optionally when a turn stops if you kept the Stop hook.
The smart light can do more than signal Claude Code and Codex. I also use it for other Home Assistant automations, such as CO2 warnings. The full build is here: Smart and stylish notification light.
^^ Top | Homepage | Best Buy Tips | Automation Ideas | Blog posts | Sitemap