Home automations with Home Assistant, ESPHome, Node-RED and more tech
ESPHome DIY sensors - Best Buy Tips
Introduction
If you want to create your own sensors with ESPHome you need an ESP development board where you can load the software to read the sensors and send this data over the network to your home server.
If you’re afraid to solder some pins or connect the ESP to the sensor, look for some tutorials and give it a try.
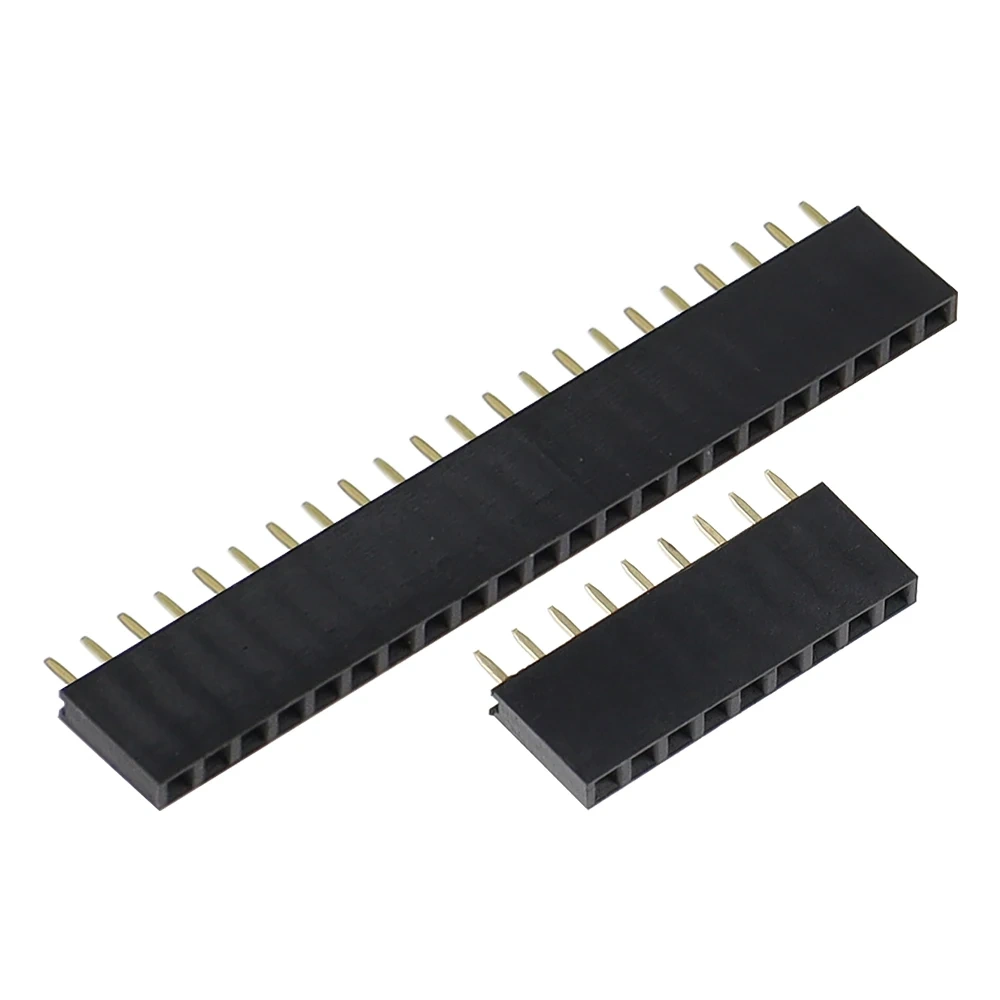
You can also look for ESPs and sensors with already pins, then with dupont cables you don’t need to soldering at all.
Here you find some useful links where you can buy ESPs,
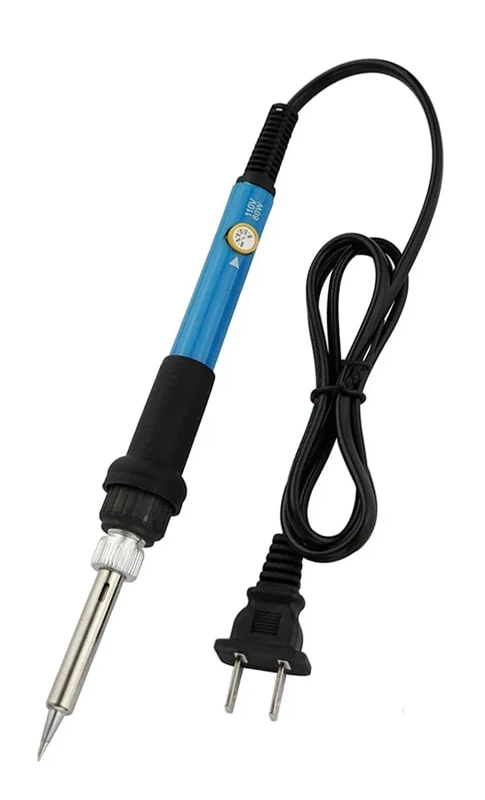
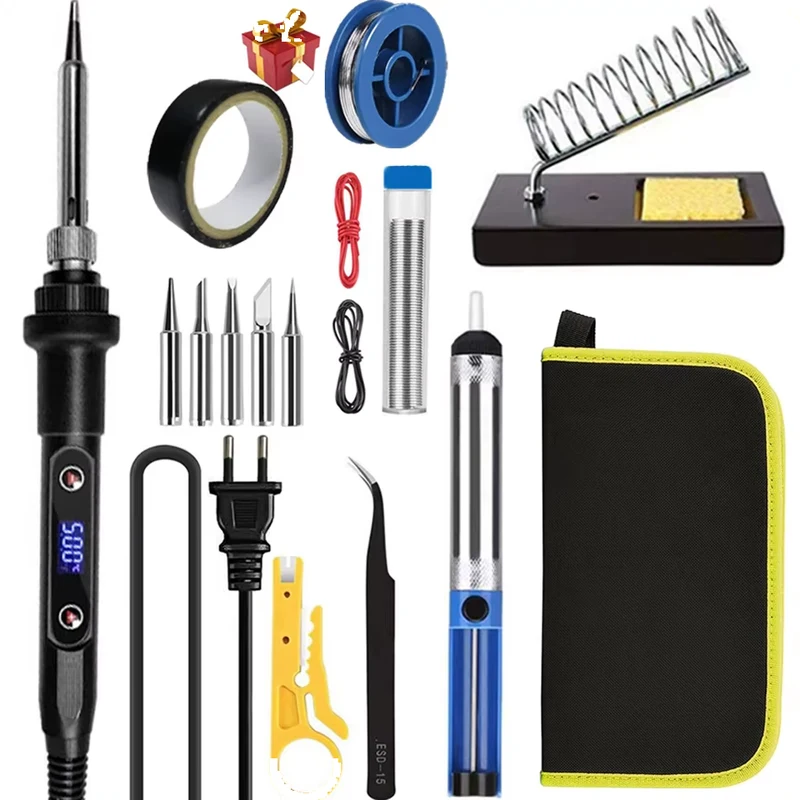
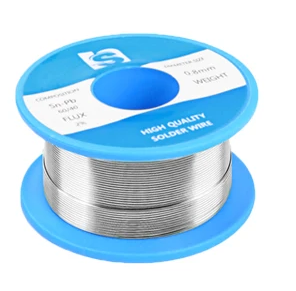
sensors and other tooling which can be useful for making your own DIY sensors.
I have a page where I added manuals to create your own sensors.
NOTE 1: Most links on this page are hardware I also bought myself.
Most of the links are affiliate links, You pay the normal price and also support my blog by buying it from here.
ESP board
The brains of your own sensor.
It contains the processor to run the program on, and with the WiFi module on it which can make contact with your own network.
ESP8266 vs ESP32
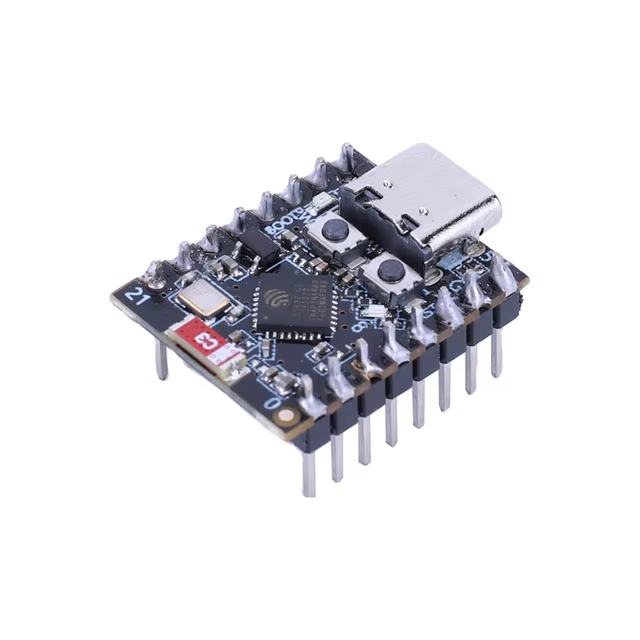
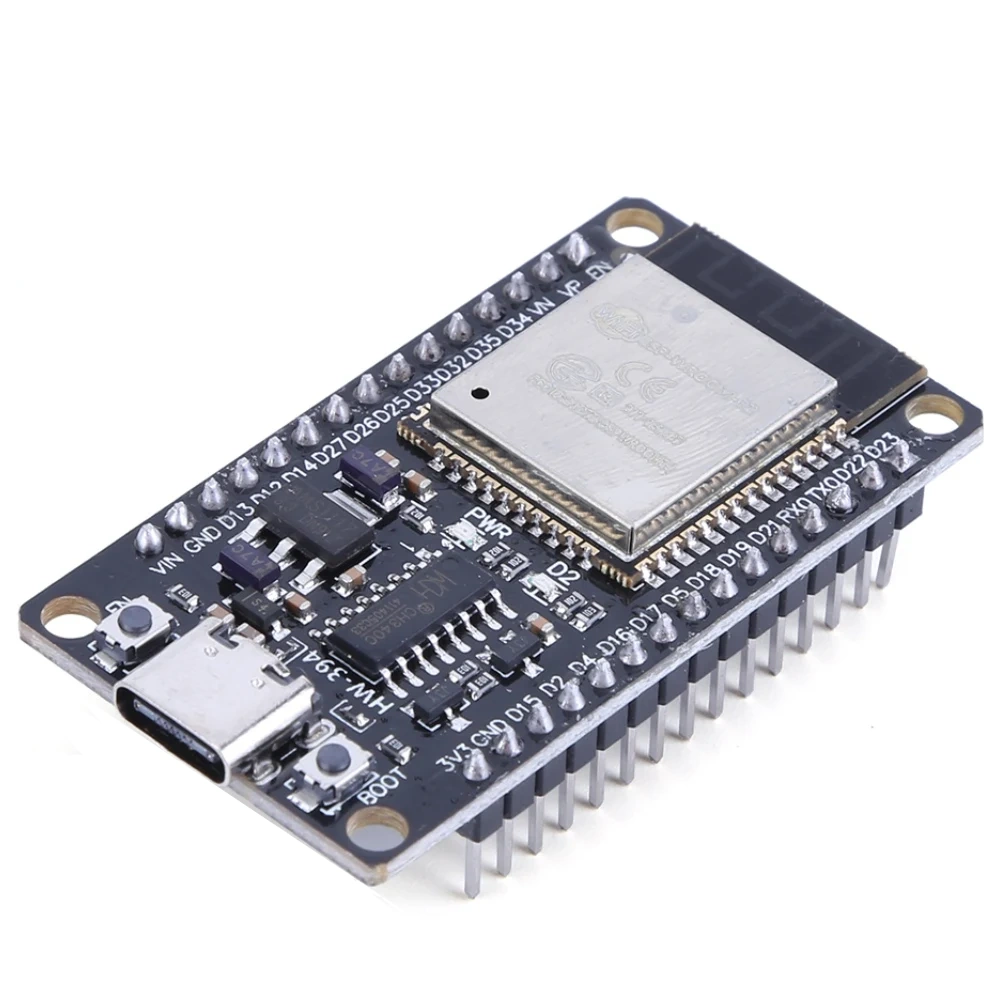
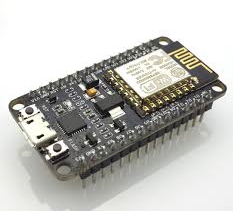
The two most used ESP families are the ESP8266 and the ESP32. Both are supported by ESPHome.
ESP8266
ESP32
Processor
Single-core, 80/160 MHz
Dual-core up to 240 MHz (the C3 is single-core)
Memory
About 80 KB RAM
About 520 KB RAM (the C3 has 400 KB)
Connectivity
WiFi
WiFi and Bluetooth
Price
Cheapest
A bit more expensive
Go for the ESP8266 if you build a simple sensor with one or two sensors, like a temperature sensor or a CO2 sensor. It is cheap and fast enough.
Go for the ESP32 if:
You need Bluetooth, for example to use it as a Bluetooth proxy for Home Assistant.
You want to connect more sensors, a display or other devices, and need more pins.
You have a bigger or more complex configuration, which needs more memory and speed.
You want a newer board with USB-C. New ESPHome features are mostly built for the ESP32.
If you’re not sure, choose an ESP32. The small price difference gives you more room to grow.
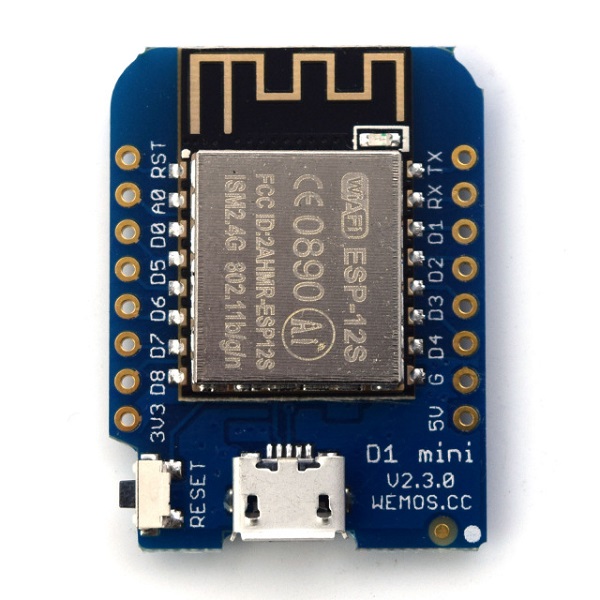
This ESP D1 mini is also an ESP8266 variant (don't use the pro or V3). You can use any ESP chip, but I like this one because of its small size. The pins are not soldered on the board yet (with some practice even you can do it for sure!).
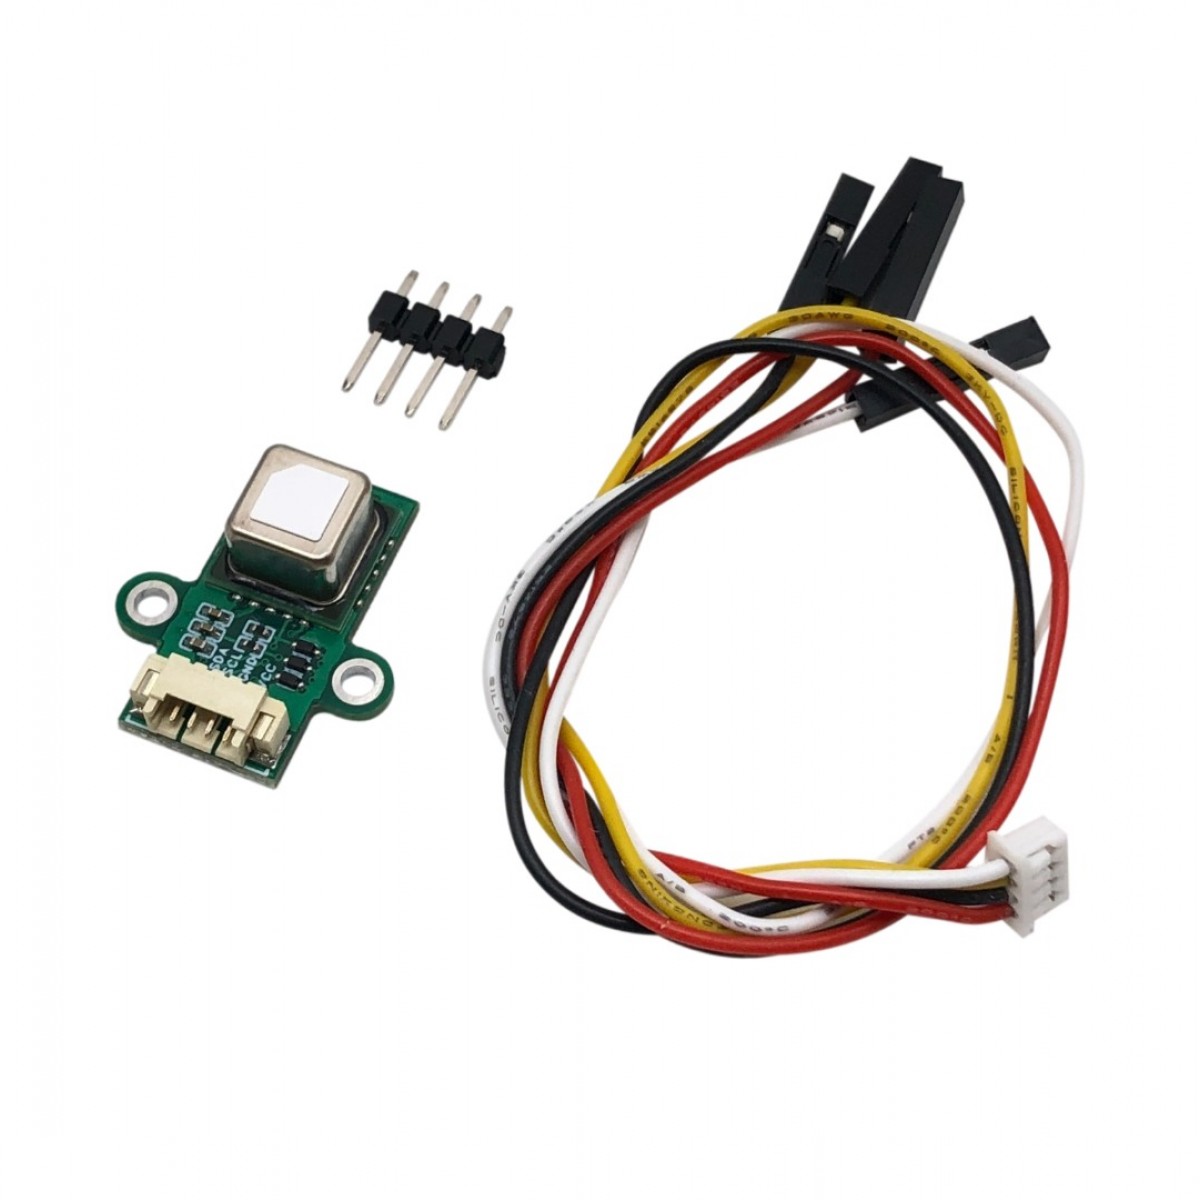
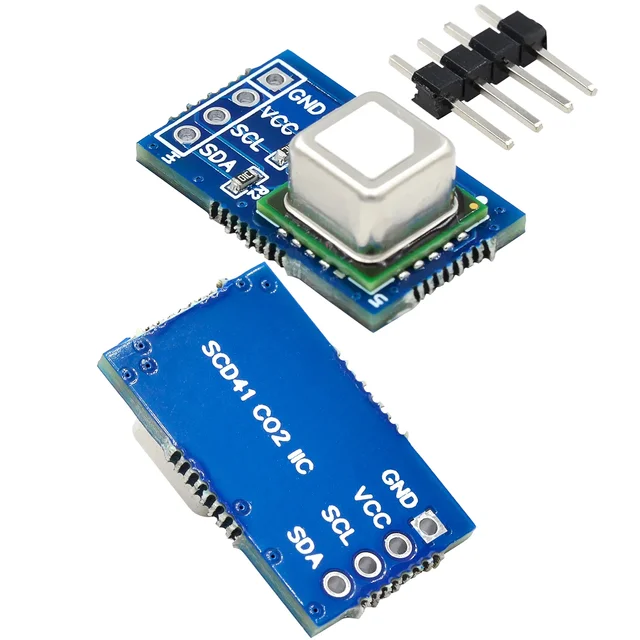
SCD40 or SCD41 are compact CO2, humidity and temperature sensors. The 41 has some higher accuracy and can measure higher ppm values (2000 vs 5000). Comes with an I2C cable, so no soldering is required. Check this page how to make your own CO2 sensor.
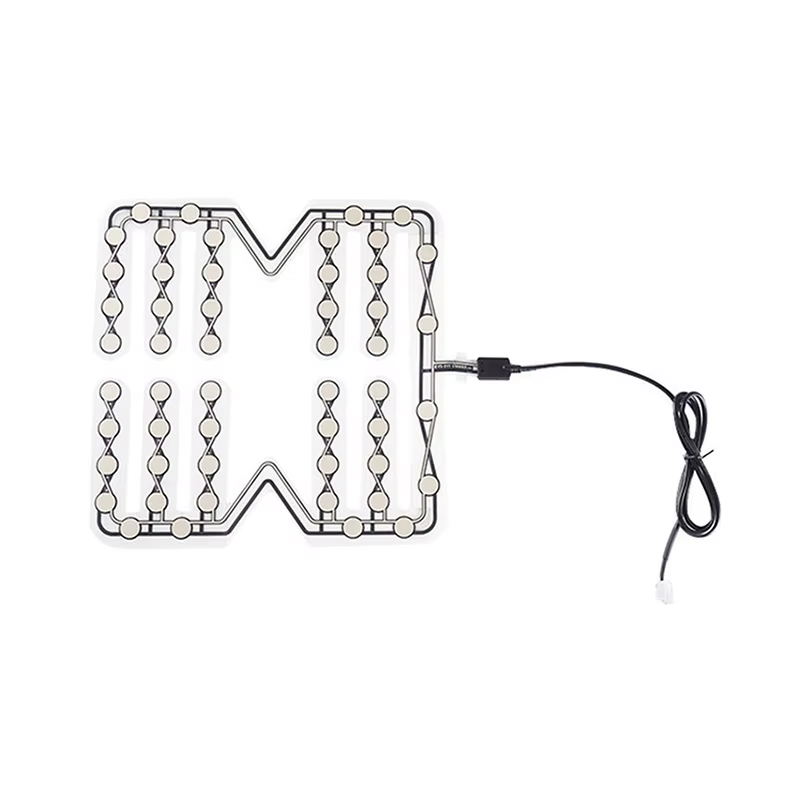
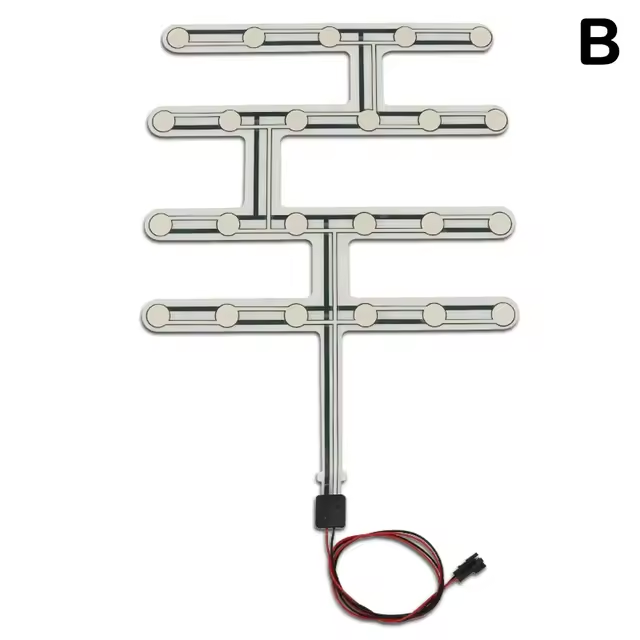
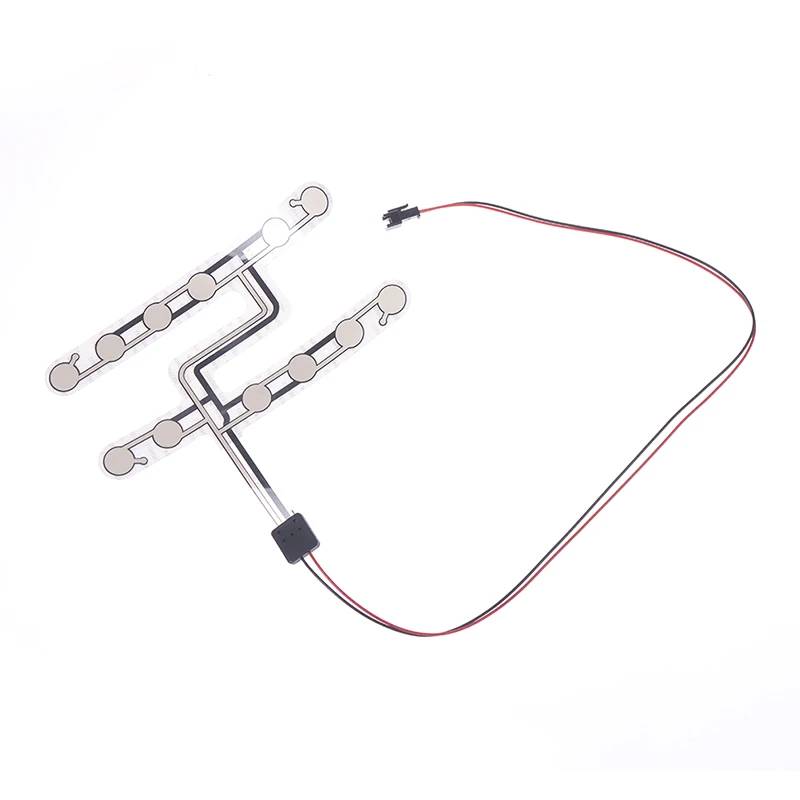
This car seat sensor measures if there is pressure on a chair or seat. The output is just an open or a closed circuit. You can directly attach it to a contact-/water leak sensor.
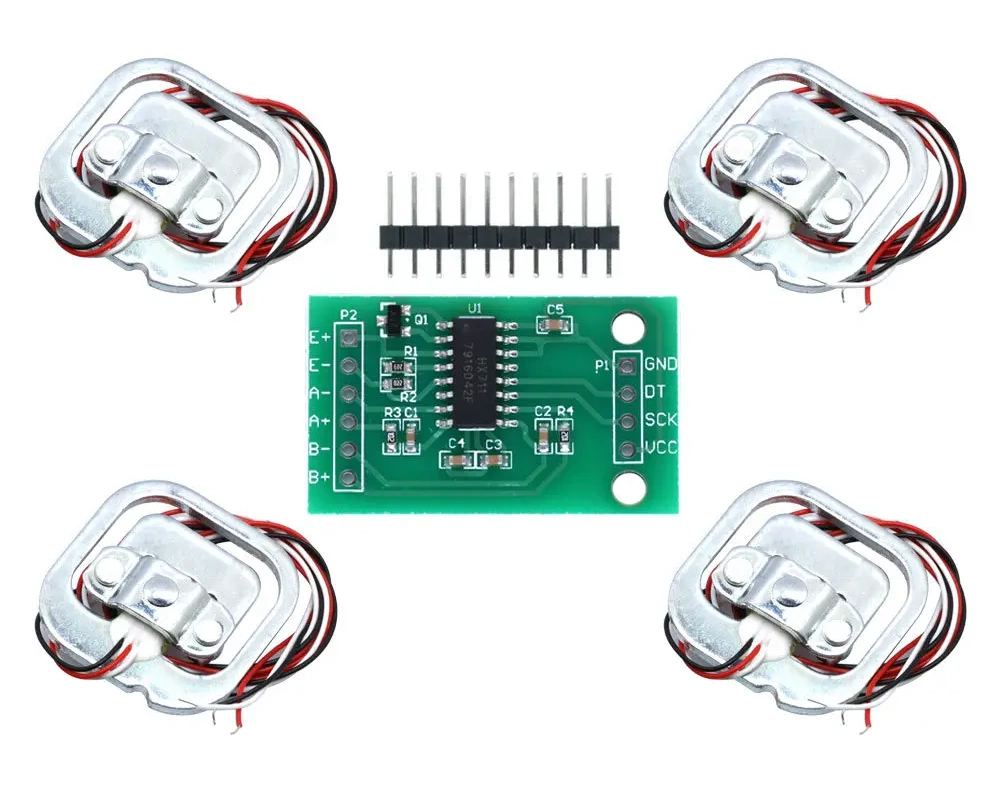
The HX711 Module comes with four pressure sensors which you can place under your bed to measure the pressure to see how many people are a.t.m. in the bed.
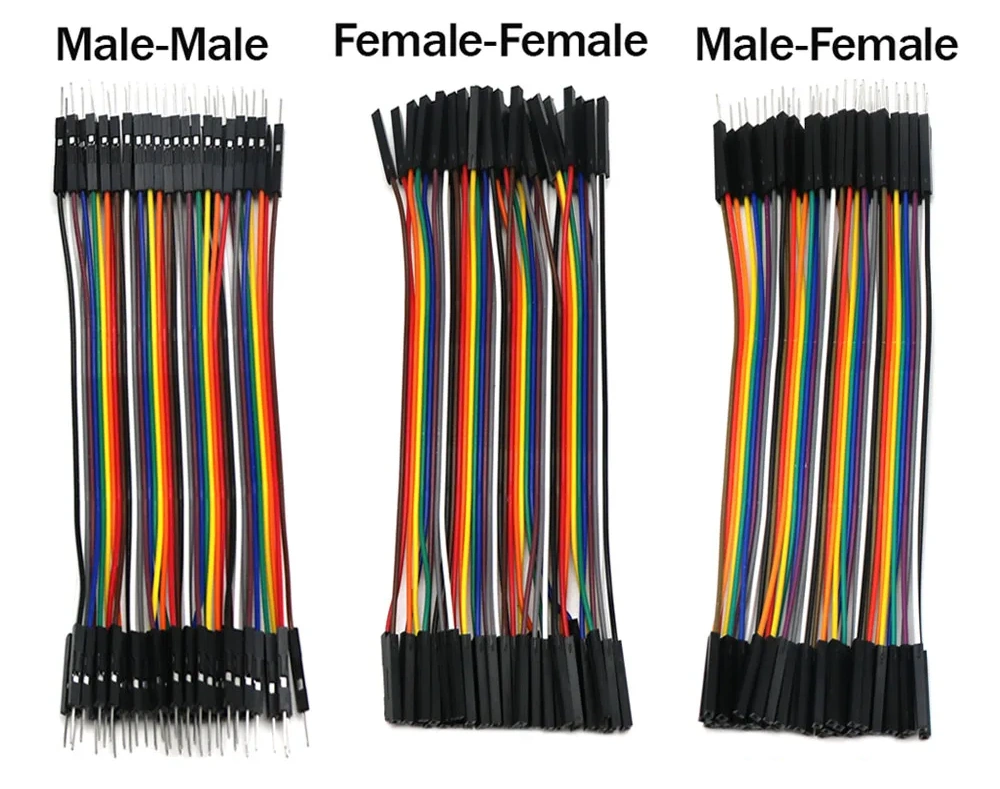
Dupont are cables to connect the ESP pins with sensors pins, in different variants: male to male, female to male and male to female. You can also cut one end to just solder it direct to the connector. Better order all three types at once, also for any further projects.
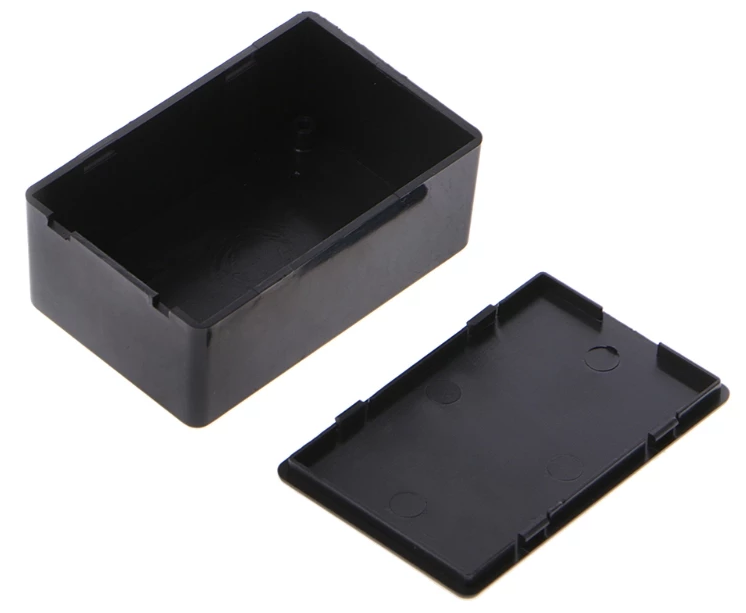
A box protects the ESP board and the sensor, and makes your DIY sensor easy to place.
Pick a waterproof one if the sensor is used outside or in a damp room.
BoxesPlastic boxes in all kind of sizes
Plastic DIY Case to fix the esp board and sensor in.
 If you want to create your own sensors with ESPHome you need an ESP development board where you can load the software to read the sensors and send this data over the network to your home server.