ESPHome: Flash the config to the ESP

Introduction
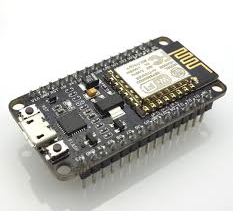
The ESP board is a small mini computer with onboard WiFi. ESPHome makes it easy to program these boards.
You define for each ESP board the connected sensors in a template. In the template, you define your ESP board and which and how the sensors are connected. The sensor also automatically registers itself to Home Assistant (or sends its data to a MQTT server).
> Click here to see an example how an ESPHome config file looks like: >>
# Sourcecode by vdbrink.github.io
esphome:
  name: espscd40
  comment: Room CO2 sensor
  platform: ESP8266
  board: nodemcuv2

wifi:
  ssid: "My WiFi network SSID"
  password: "My WiFi password"

# Home Assistant integration
api:

# pin definition
i2c:
  sda: 4
  scl: 5

# Define which sensors are connected to the board
#  and how the look like in Home Assistant.
sensor:
  - platform: scd4x
    co2:
      name: "SCD40 CO2"
    temperature:
      name: "CO2 temperature"
    humidity:
      name: "CO2 humidity"
Detailed info
For more information about installing and flashing your ESP with ESPHome see the ESPHome website or Peyanski ESPHome Installation Guide.
Command line links
- Python to run ESPHome
- ESPHome to flash the ESP
- Windows driver chp340 to recognize the ESP as connected device
esphome run file.yaml
Docker
With this docker-compose file you can run Esphome.
The file docker-compose.yml:
# Sourcecode by vdbrink.github.io
version: '2'
services:

    esphome:
        container_name: esphome
        image: esphome/esphome
        environment:
          - TZ=Europe/Amsterdam
        ports:
          - "6052:6052"
          - "6123:6123"
        restart: unless-stopped
        volumes:
          - /etc/localtime:/etc/localtime:ro
          - ./volumes/esphome/config:/config
http://<docker host>:6052/
^^ Top | Homepage | Best Buy Tips | Automation Ideas | Blog posts