Home Assistant dashboard: Mealie Recipe manager 0.x
![]()
Here you can find how you can create a dashboard to manage your recipes and create a meal weekplanner with Mealie.
I also show you how data from Mealie can be integrated seamlessly, via the REST integration, in Home Assistant cards to show the meal planner data.
For more information, check the website: https://hay-kot.github.io/mealie/
The version I use here is the fixed version 0.5.6, the newer 1.x.x version is not compatible with the card scripts you find here.
See my new Mealie page for version 1.x+ code.
Table of Contents
Docker
You can run Mealie as Docker container.
The website and API will be available on the server on < ip-adress >:9925
# Sourcecode by vdbrink.github.io
# docker-compose.yaml
version: '2'
services:
    mealie:
      container_name: mealie
      image: hkotel/mealie:v0.5.6
      restart: always
      volumes:
        - ./volumes/mealie:/app/data/
      ports:
        - "9925:80"
      environment:
        PUID: 1000
        PGID: 1000
        TZ: Europe/Amsterdam

        # Default Recipe Settings
        RECIPE_PUBLIC: 'true'
        RECIPE_SHOW_NUTRITION: 'false'
        RECIPE_SHOW_ASSETS: 'true'
        RECIPE_LANDSCAPE_VIEW: 'true'
        RECIPE_DISABLE_COMMENTS: 'true'
        RECIPE_DISABLE_AMOUNT: 'false'
Add recipes
When you access your local Mealie website you’re in read mode. Click in the top right corner to log in with the default credentials changeme@email.com / MyPassword
Now you can click on the bottom right plus icon to add all your meals one by one manually or import them from a website.
Dashboard integration
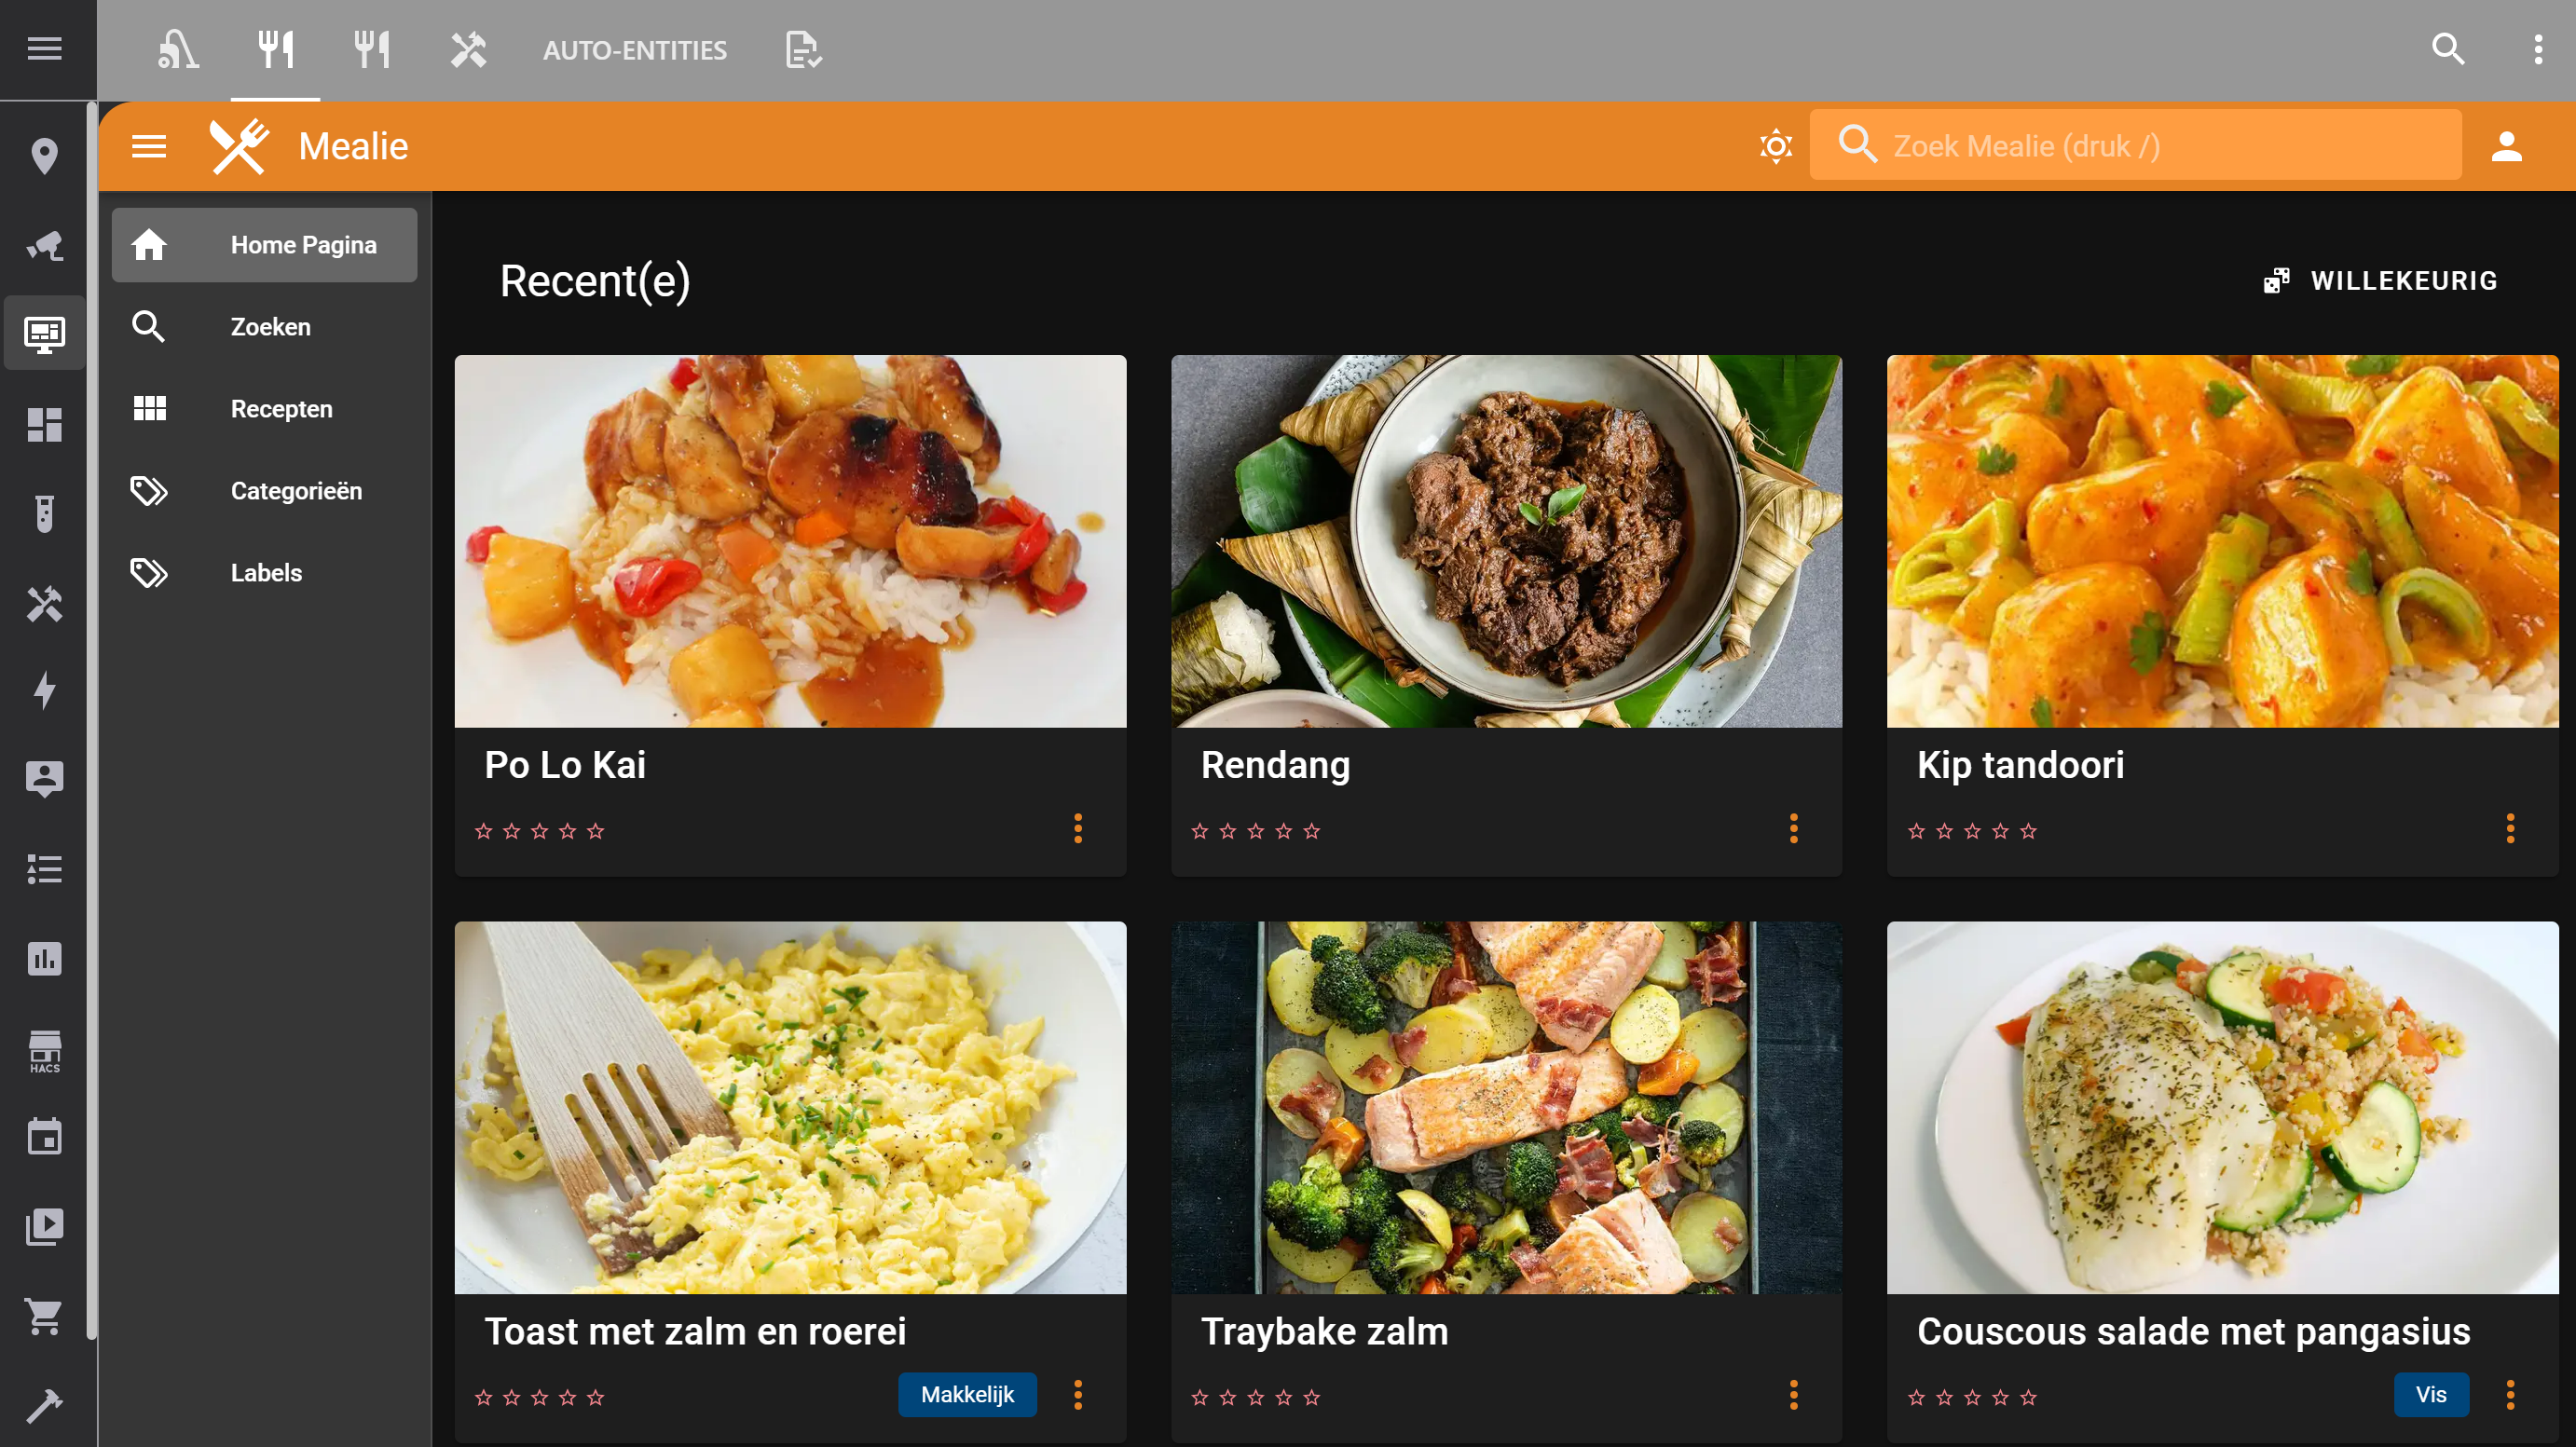
To integrate Mealie in Home Assistant you have to create a new dashboard and use these settings:
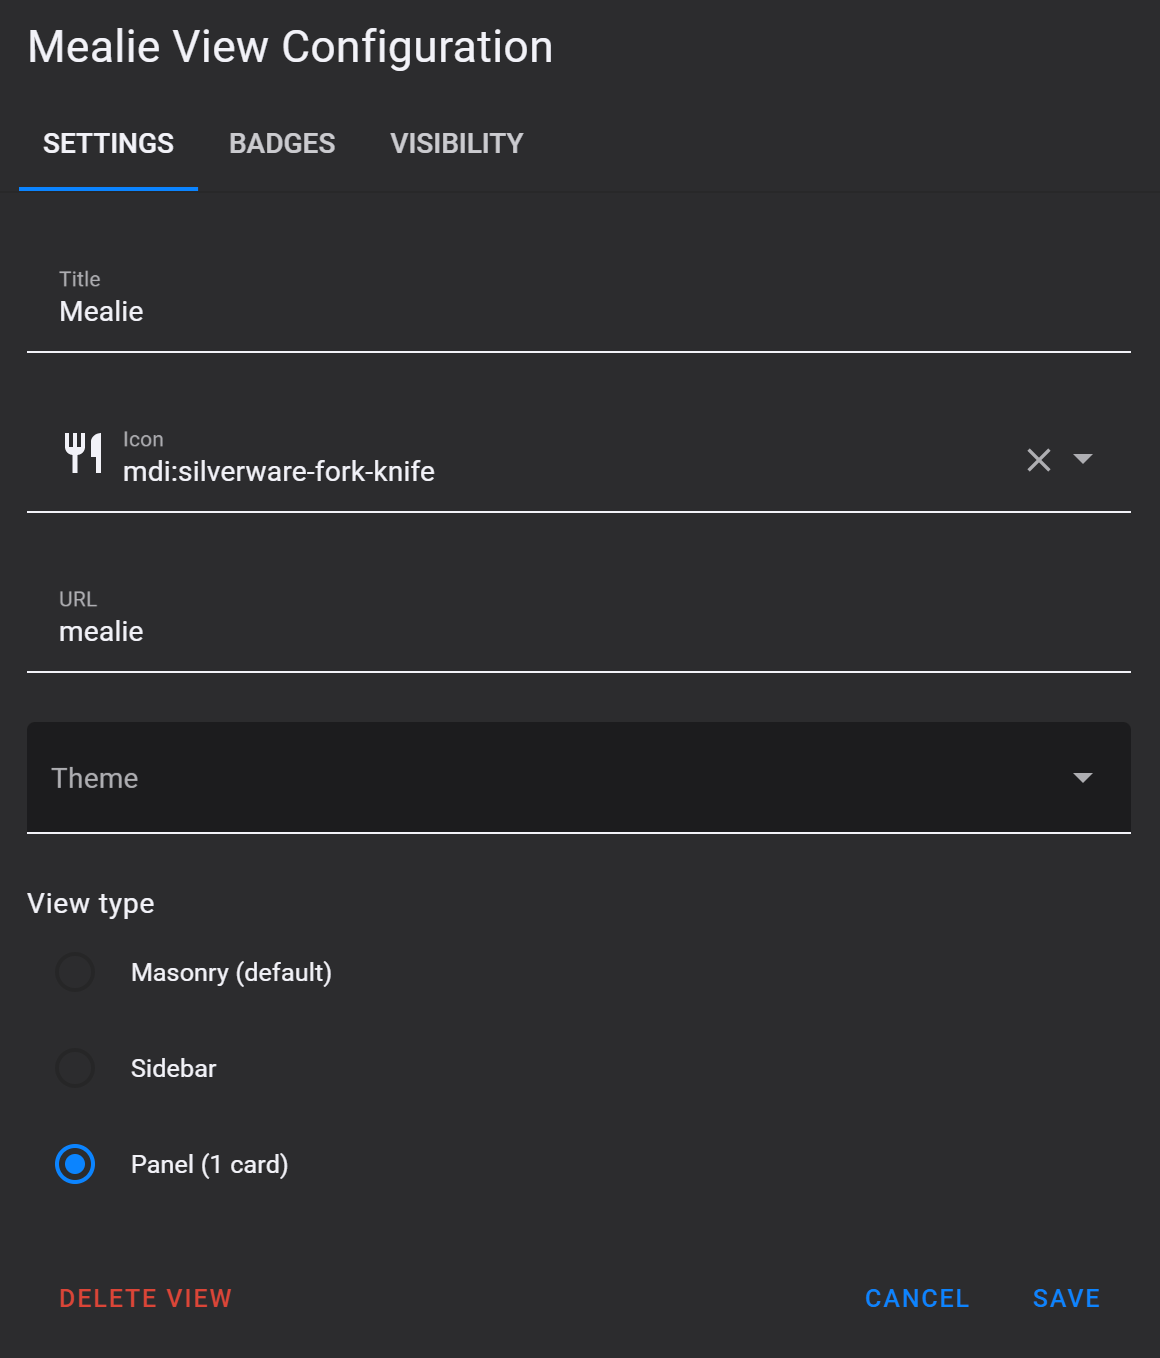
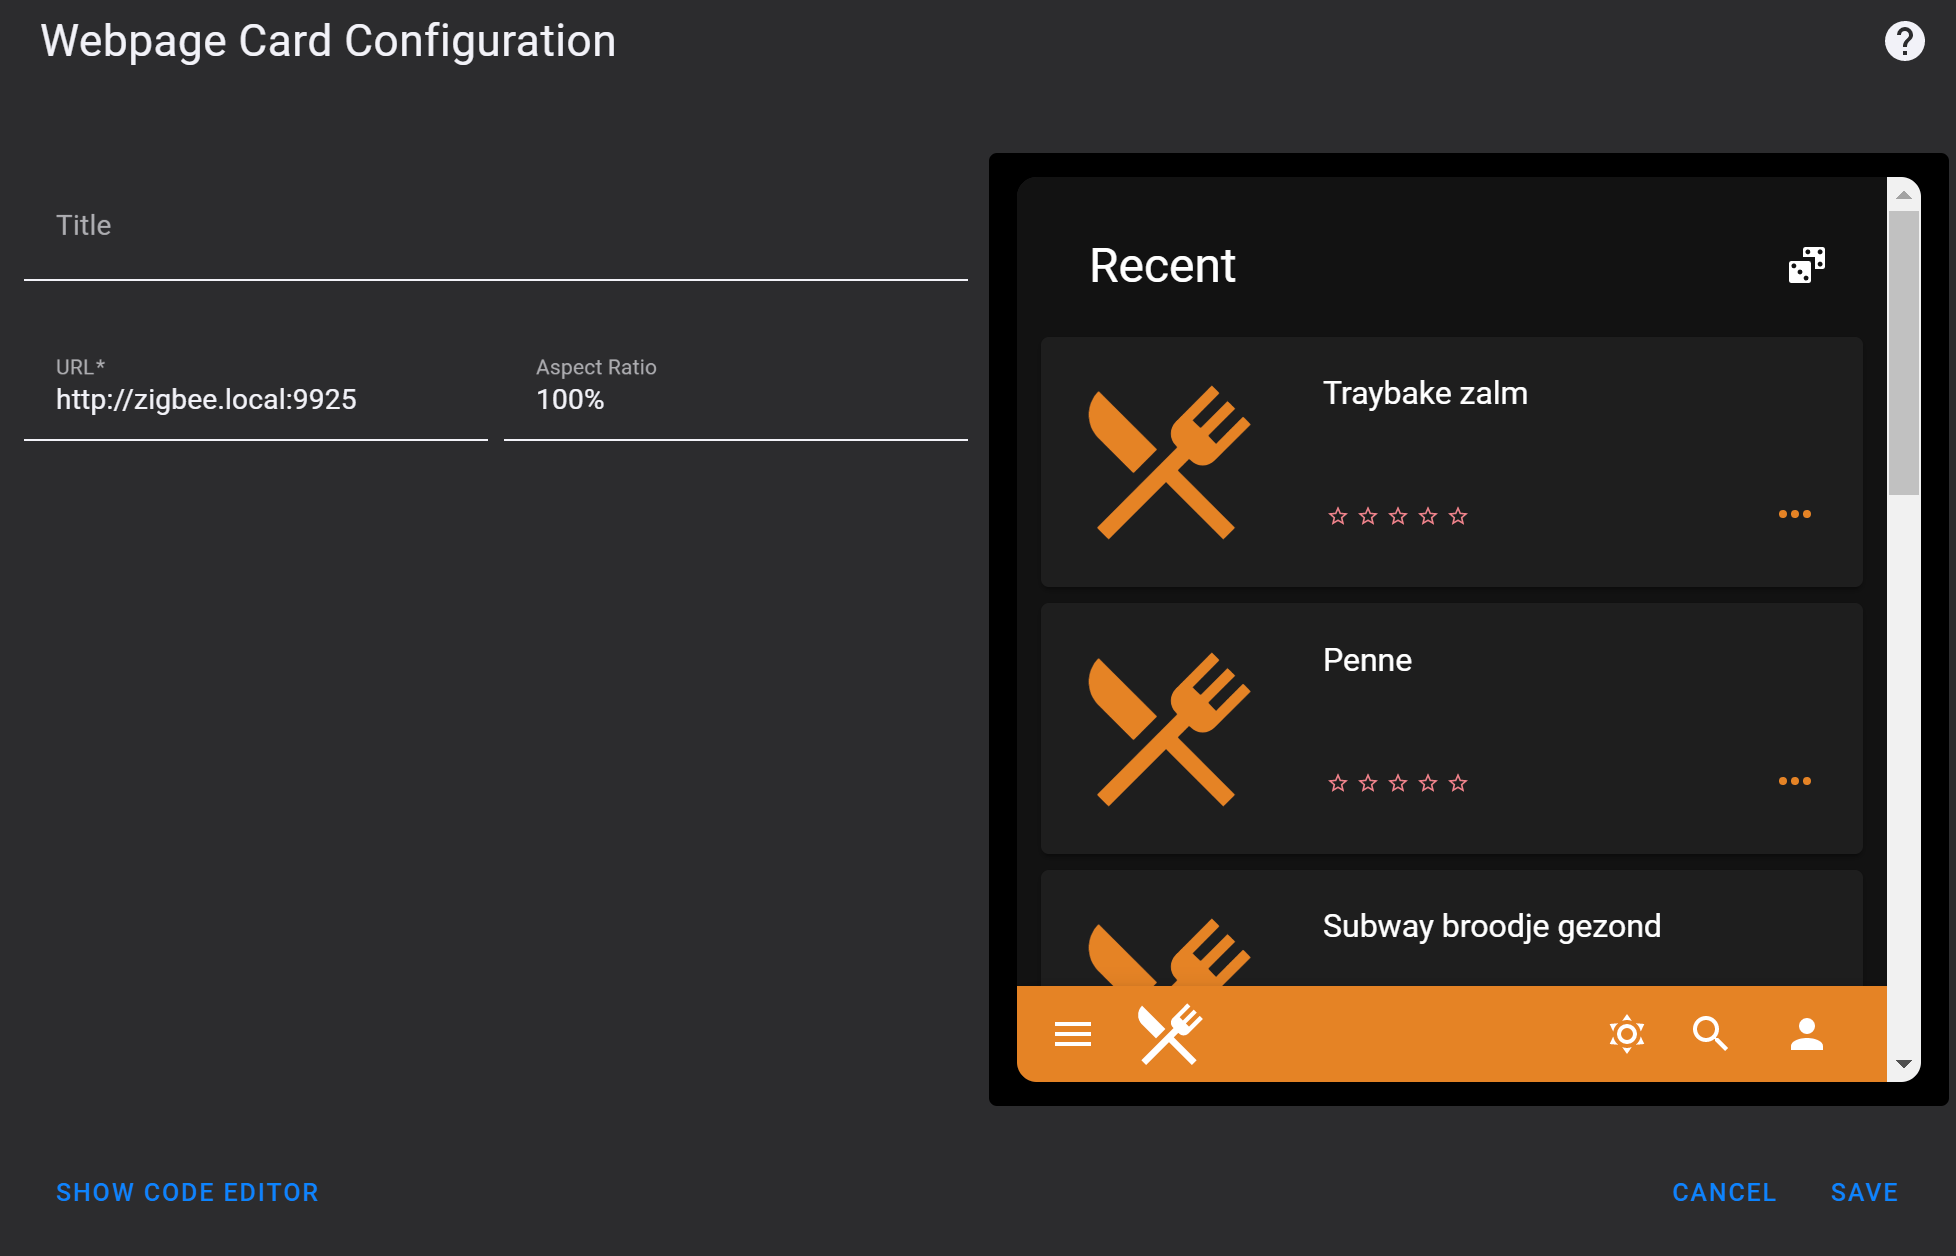
On the dashboard add only an iframe card and use these settings:
This is how it will look like, integrated in Home Assistant.
Create a week meal planner
To use the functionality to show a week planner you need to create a meal plan.
First you have to go to the user profile page and create and select a category for meals. Add this category to each meal as well. This is needed so recipes like desserts will not show up in the meal planner.
Go to the top right login icon and choose Planner, give a start and end date and choose for each day what you plan to eat. It doesn’t matter on which day of the week you start or end.
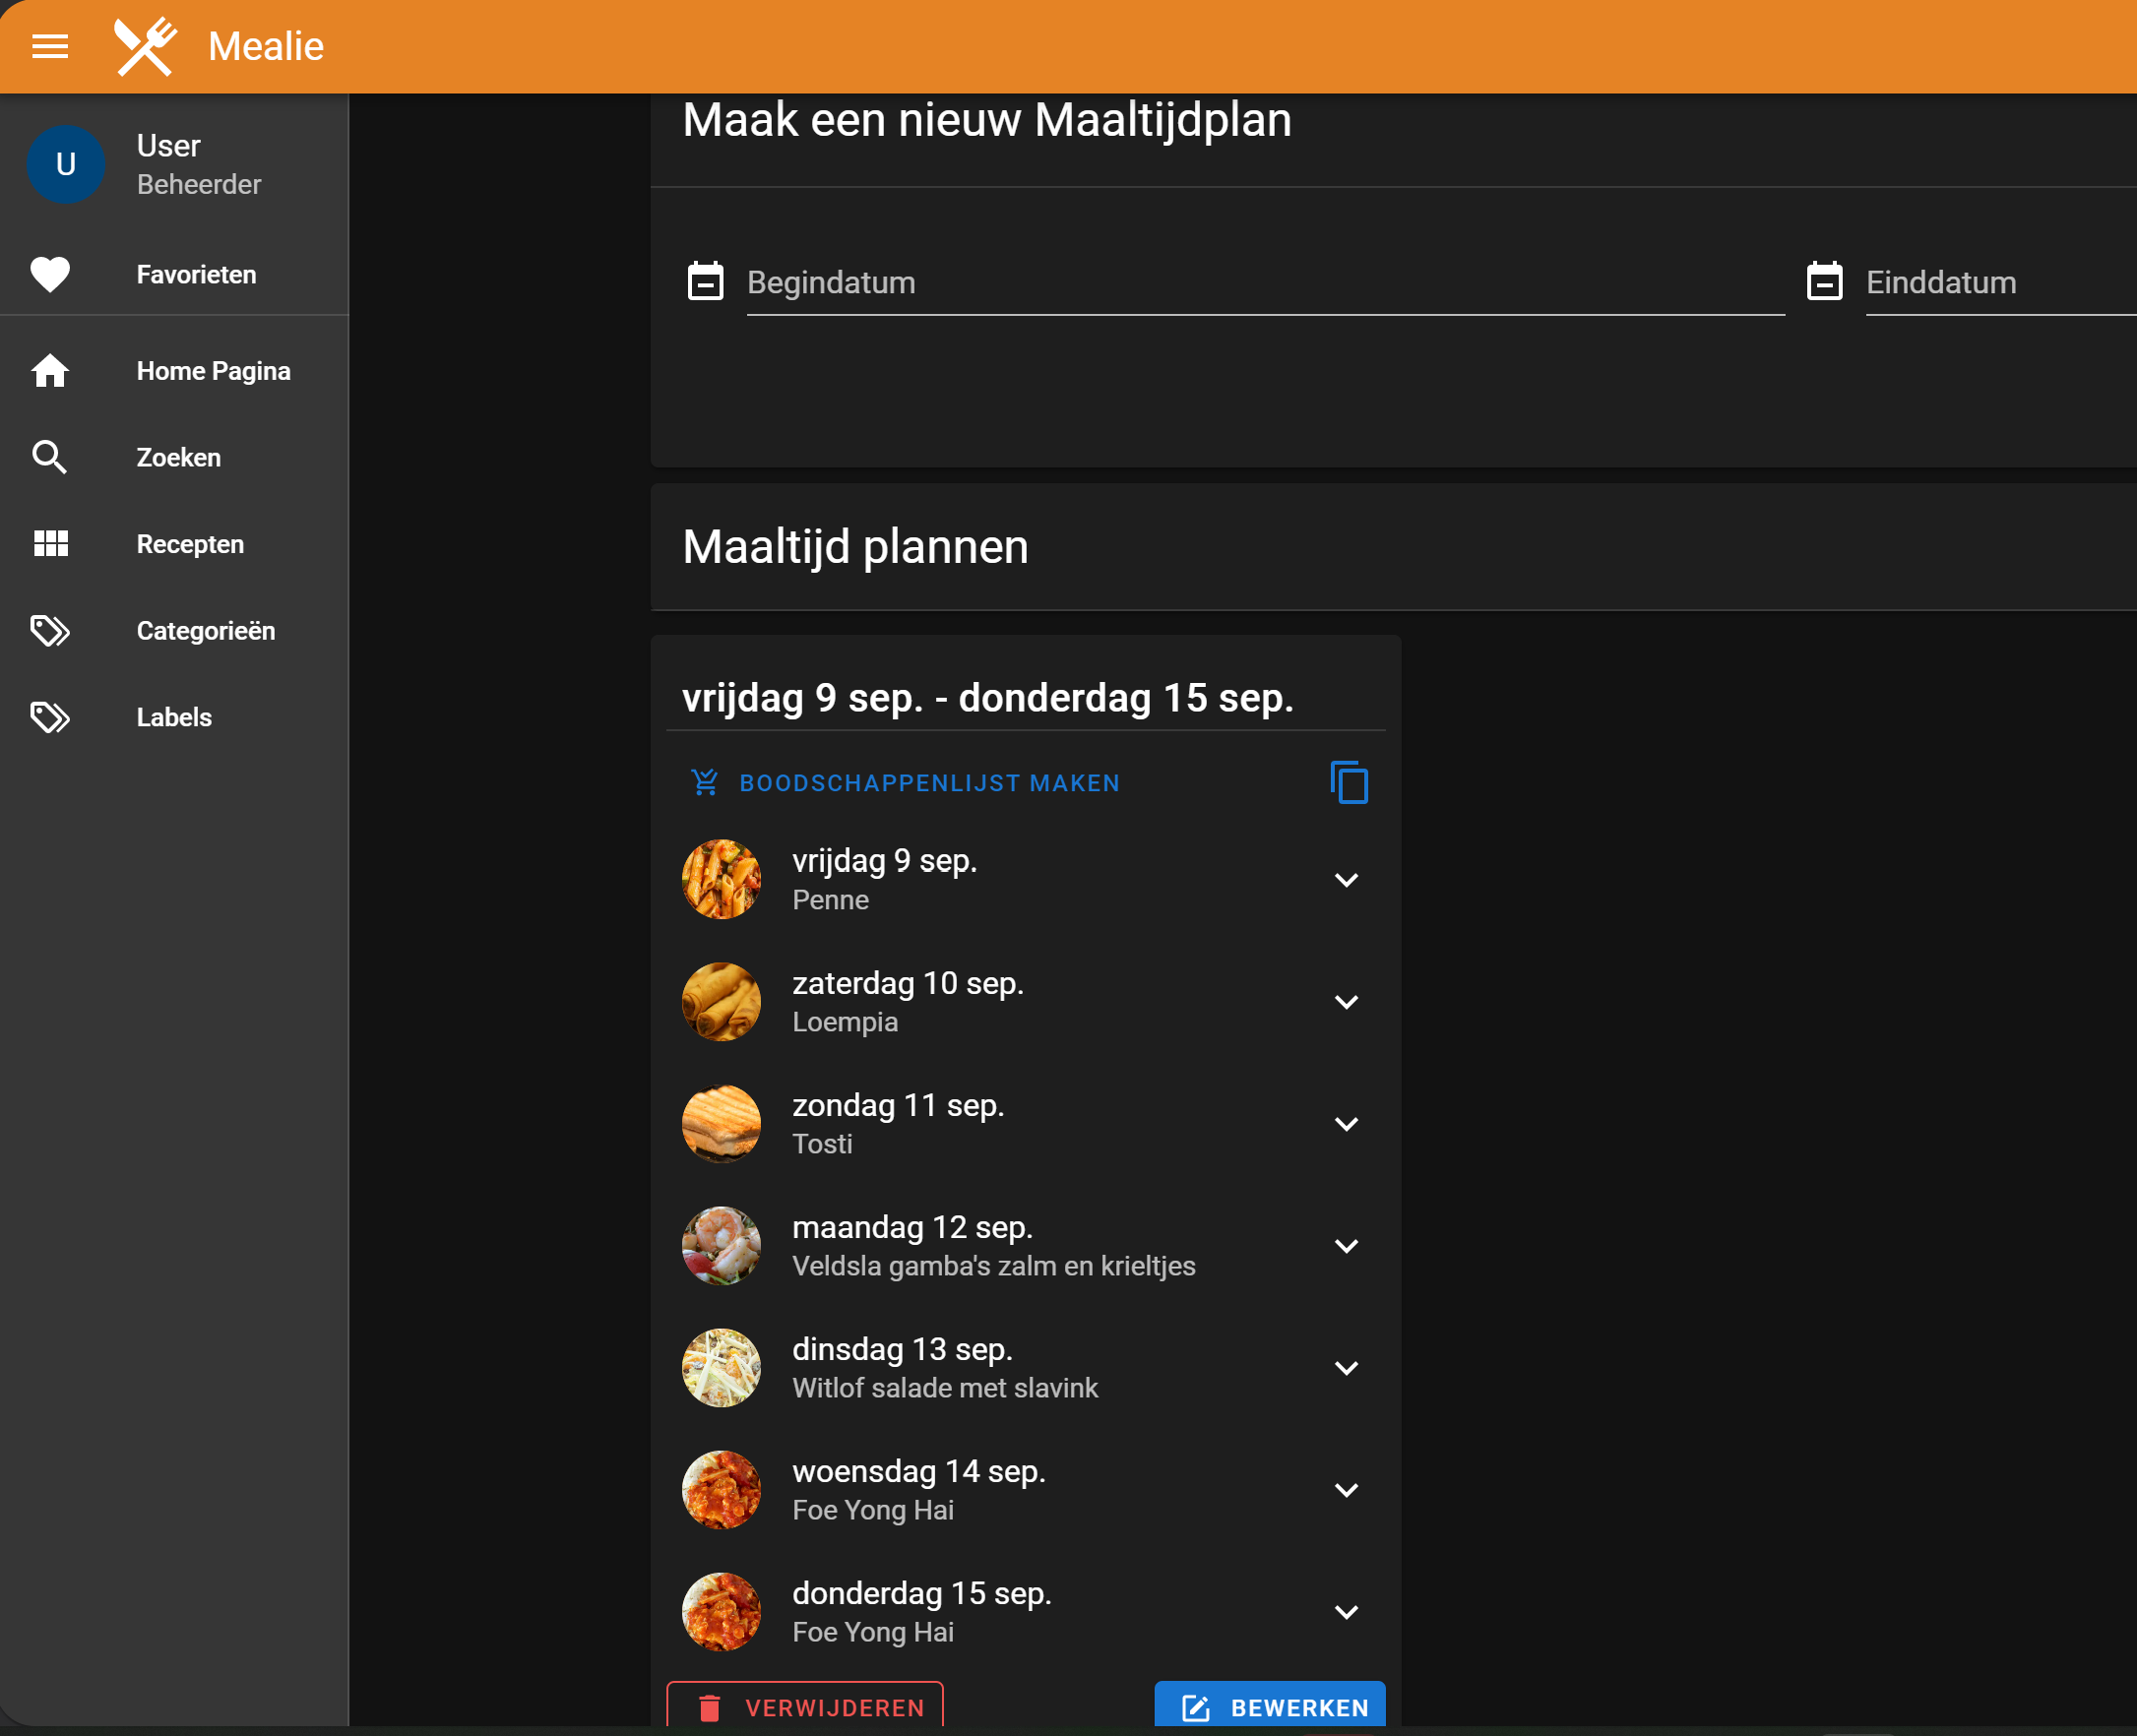
If you start a new week you have to remove the previous week otherwise you still get the first planned week from the API call.
Meal for tonight
Now a week planner is made we can use this data.
All data inside Mealie is also accessible through API calls. We can use this to get the meal for today and present that on a dashboard in a card.

Store in a sensor
First a scraper is needed to get the data from the Mealie API and store it as sensor in Home Assistant.
This code creates a sensor maaltijd_voor_vandaag with the state Gevulde paprika's. Another API call returns the corresponding photo.
To call the API you need a secret Bearer token. Check the FAQ how to create one.
# Sourcecode by vdbrink.github.io
# configuration.yaml
sensor:
    - platform: rest
      resource: 'http://< ip-address >:9925/api/meal-plans/today'
      method: GET
      name: Maaltijd voor vandaag
      headers:
      Authorization: Bearer < your bearer token >
      value_template: "{{ value_json.name }}"
Square card element
Now we have the name of the meal for today and the corresponding image we can use it to show it on a card.
The first card is a square picture-element.
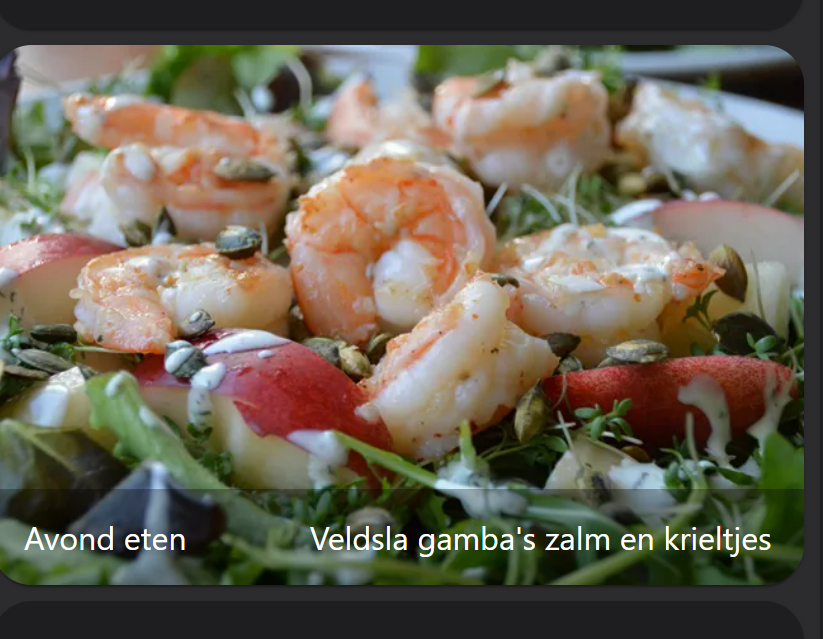
You can set the tap_action, when you click on the card you navigate to the Mealie integration.
# Sourcecode by vdbrink.github.io
# Dashboard card code
type: picture-entity
entity: sensor.maaltijd_voor_vandaag
name: Avond eten
show_state: true
show_name: true
image: http://< ip-address >:9925/api/meal-plans/today/image?group_name=Home
tap_action:
  action: navigate
  navigation_path: /lovelace-dashboard/mealie
style: |
  ha-card {
  max-height: 300px !important;
  overflow: hidden;
  display: flex;
  align-items: center;
  justify-content: center;
  }
Small card element
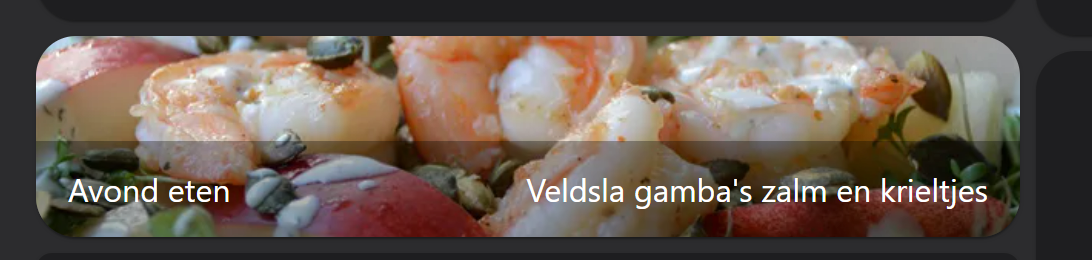
Because the square image takes a lot of space, it’s also possible to use only the center part of the photo to get the same impression but using less space.
# Sourcecode by vdbrink.github.io
# Dashboard card code
type: picture-entity
entity: sensor.maaltijd_voor_vandaag
name: Avond eten
show_state: true
show_name: true
image: http://< ip-address >:9925/api/meal-plans/today/image?group_name=Home
tap_action:
  action: navigate
  navigation_path: /lovelace-dashboard/mealie
style: |
  ha-card {
  height: 100px !important;
  overflow: hidden;
  display: flex;
  align-items: center;
  justify-content: center;
  }
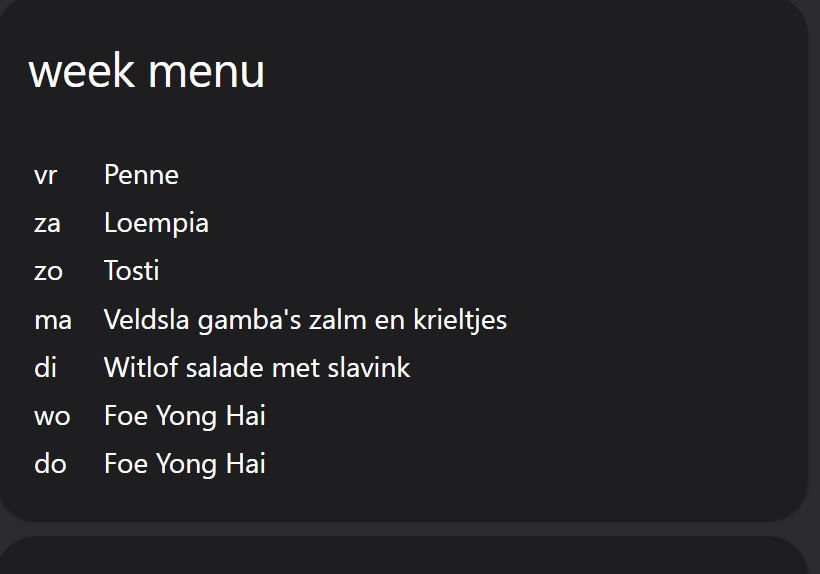
Meal planning for this week as list
It’s also possible to show the complete meal planning for the whole week as list with a Markdown card element.
First create a scraper sensor in configuration.yaml.
# Sourcecode by vdbrink.github.io
# configuration.yaml
sensor:
    - platform: rest
      resource: 'http://< ip-address >:9925/api/meal-plans/this-week'
      method: GET
      name: "meal this week"
      headers:
        content-type: "application/json"
        Authorization: Bearer <your bearer token>
      value_template: "{{ value_json.name }}"
      json_attributes:
        - planDays
In your dashboard add a Markdown card with this code. The day of the week will be set automatically and correctly in the list. (Translate it if you’re not Dutch)
# Sourcecode by vdbrink.github.io
# Dashboard card code
- type: markdown
title: week menu
content: >-
<table>
{% for task in state_attr('sensor.meal_this_week','planDays') %}
<tr>
<td>{{ ['ma','di','wo','do','vr','za','zo'][strptime( task.date,"%Y-%m-%d").weekday()] }} </td>
<td>{{ task.meals[0].name }}</td>
</tr>
{% endfor %}
</table>
Enjoy using Mealie!
FAQ
Q: What are the default user credentials?
A: Username: changeme@email.com
Password: MyPassword
Q: How to set a different locale?
A: In the side menu go to settings, here you can change the locale.
Q: How can to create a Bearer token?
A: See API Key Generation
Q: Can I add a YouTube recipe instruction movie to my recipe?
A: Yes you can with this code block in the description.
<iframe width="560" height="315" src="https://www.youtube.com/embed/tDxoRylP194" frameborder="0" allow="accelerometer; autoplay; clipboard-write; encrypted-media; gyroscope; picture-in-picture" allowfullscreen></iframe>
Q: Where can I find more info about Mealie
A: See their website
« See also my other Home Assistant tips and tricks
^^ Top | Homepage | Best Buy Tips | Automation Ideas | Blog posts