Automate infrared devices
In Home Assistant
Introduction
With an infrared transmitter and receiver device, you can automate all your infrared controlled devices!
There are a lot of devices that have a remote which works via infrared. Like a TV, air conditioner, (ceiling) fans, fireplace, screens, lights and electric candles. The signal of an infrared remote has no encryption and is always the same. This makes it easy to capture, store and resend the signal.
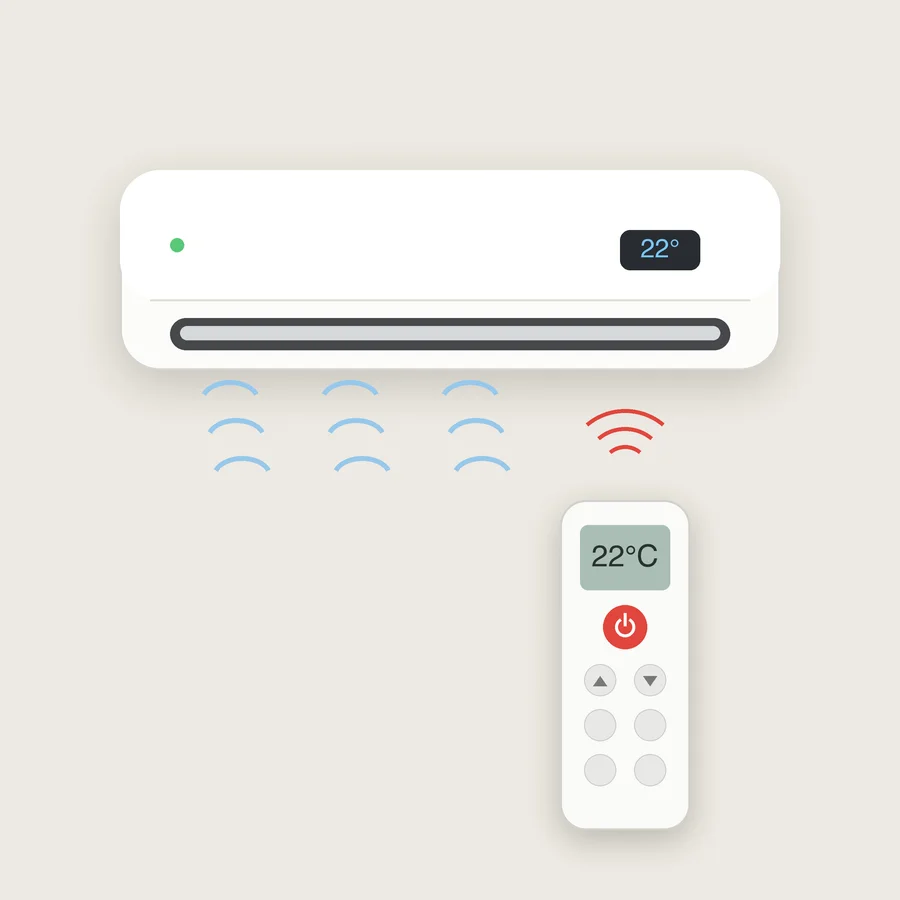
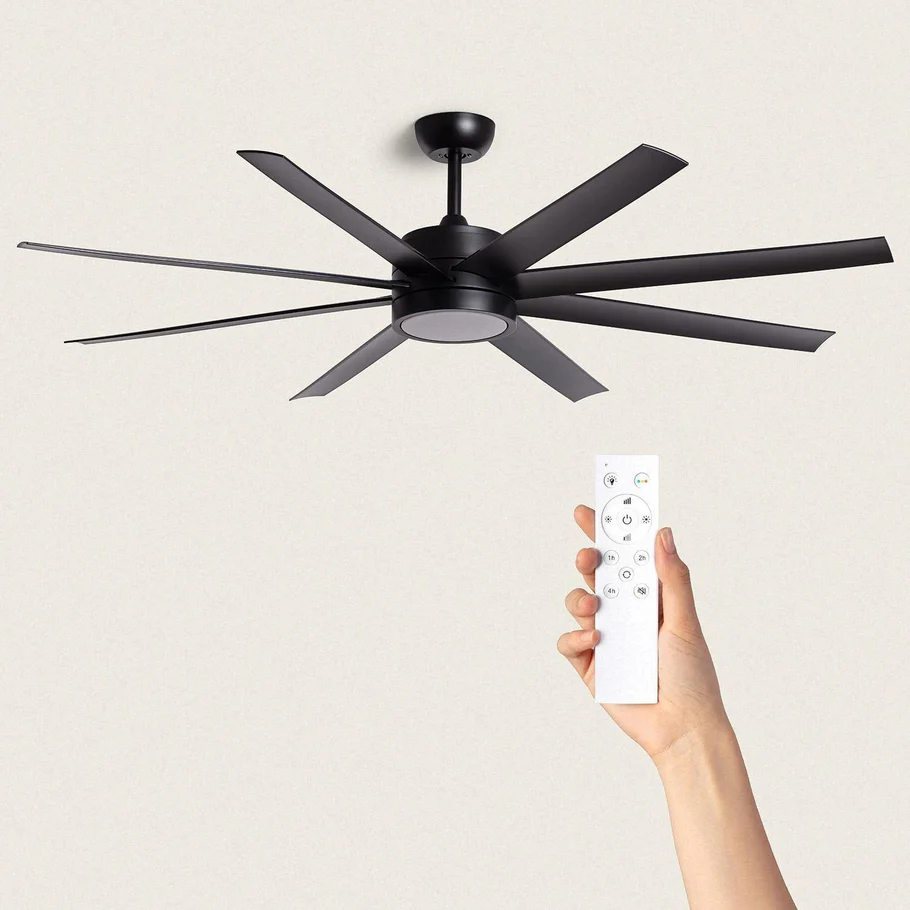
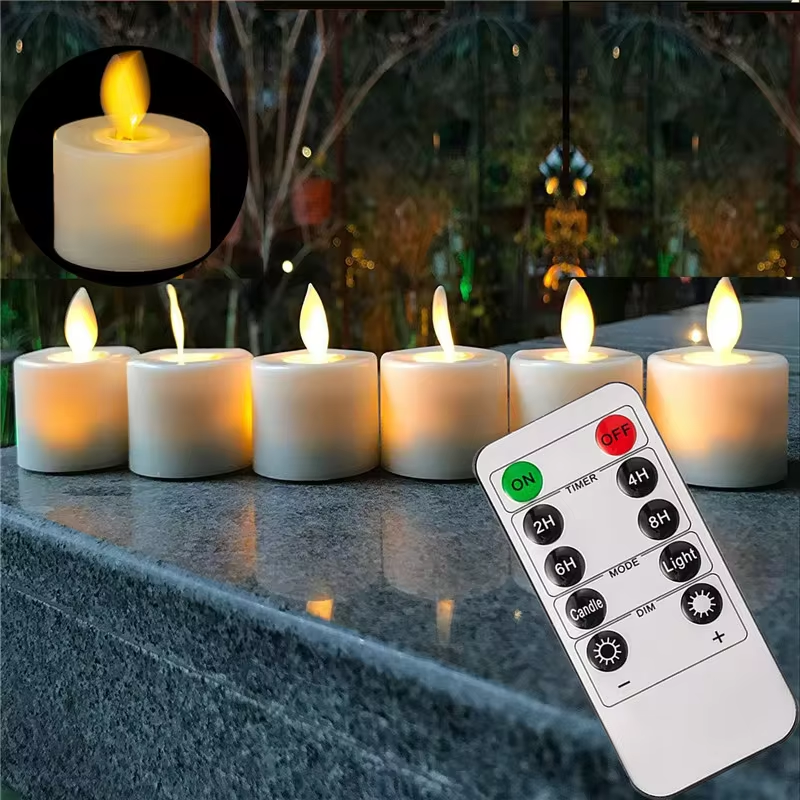
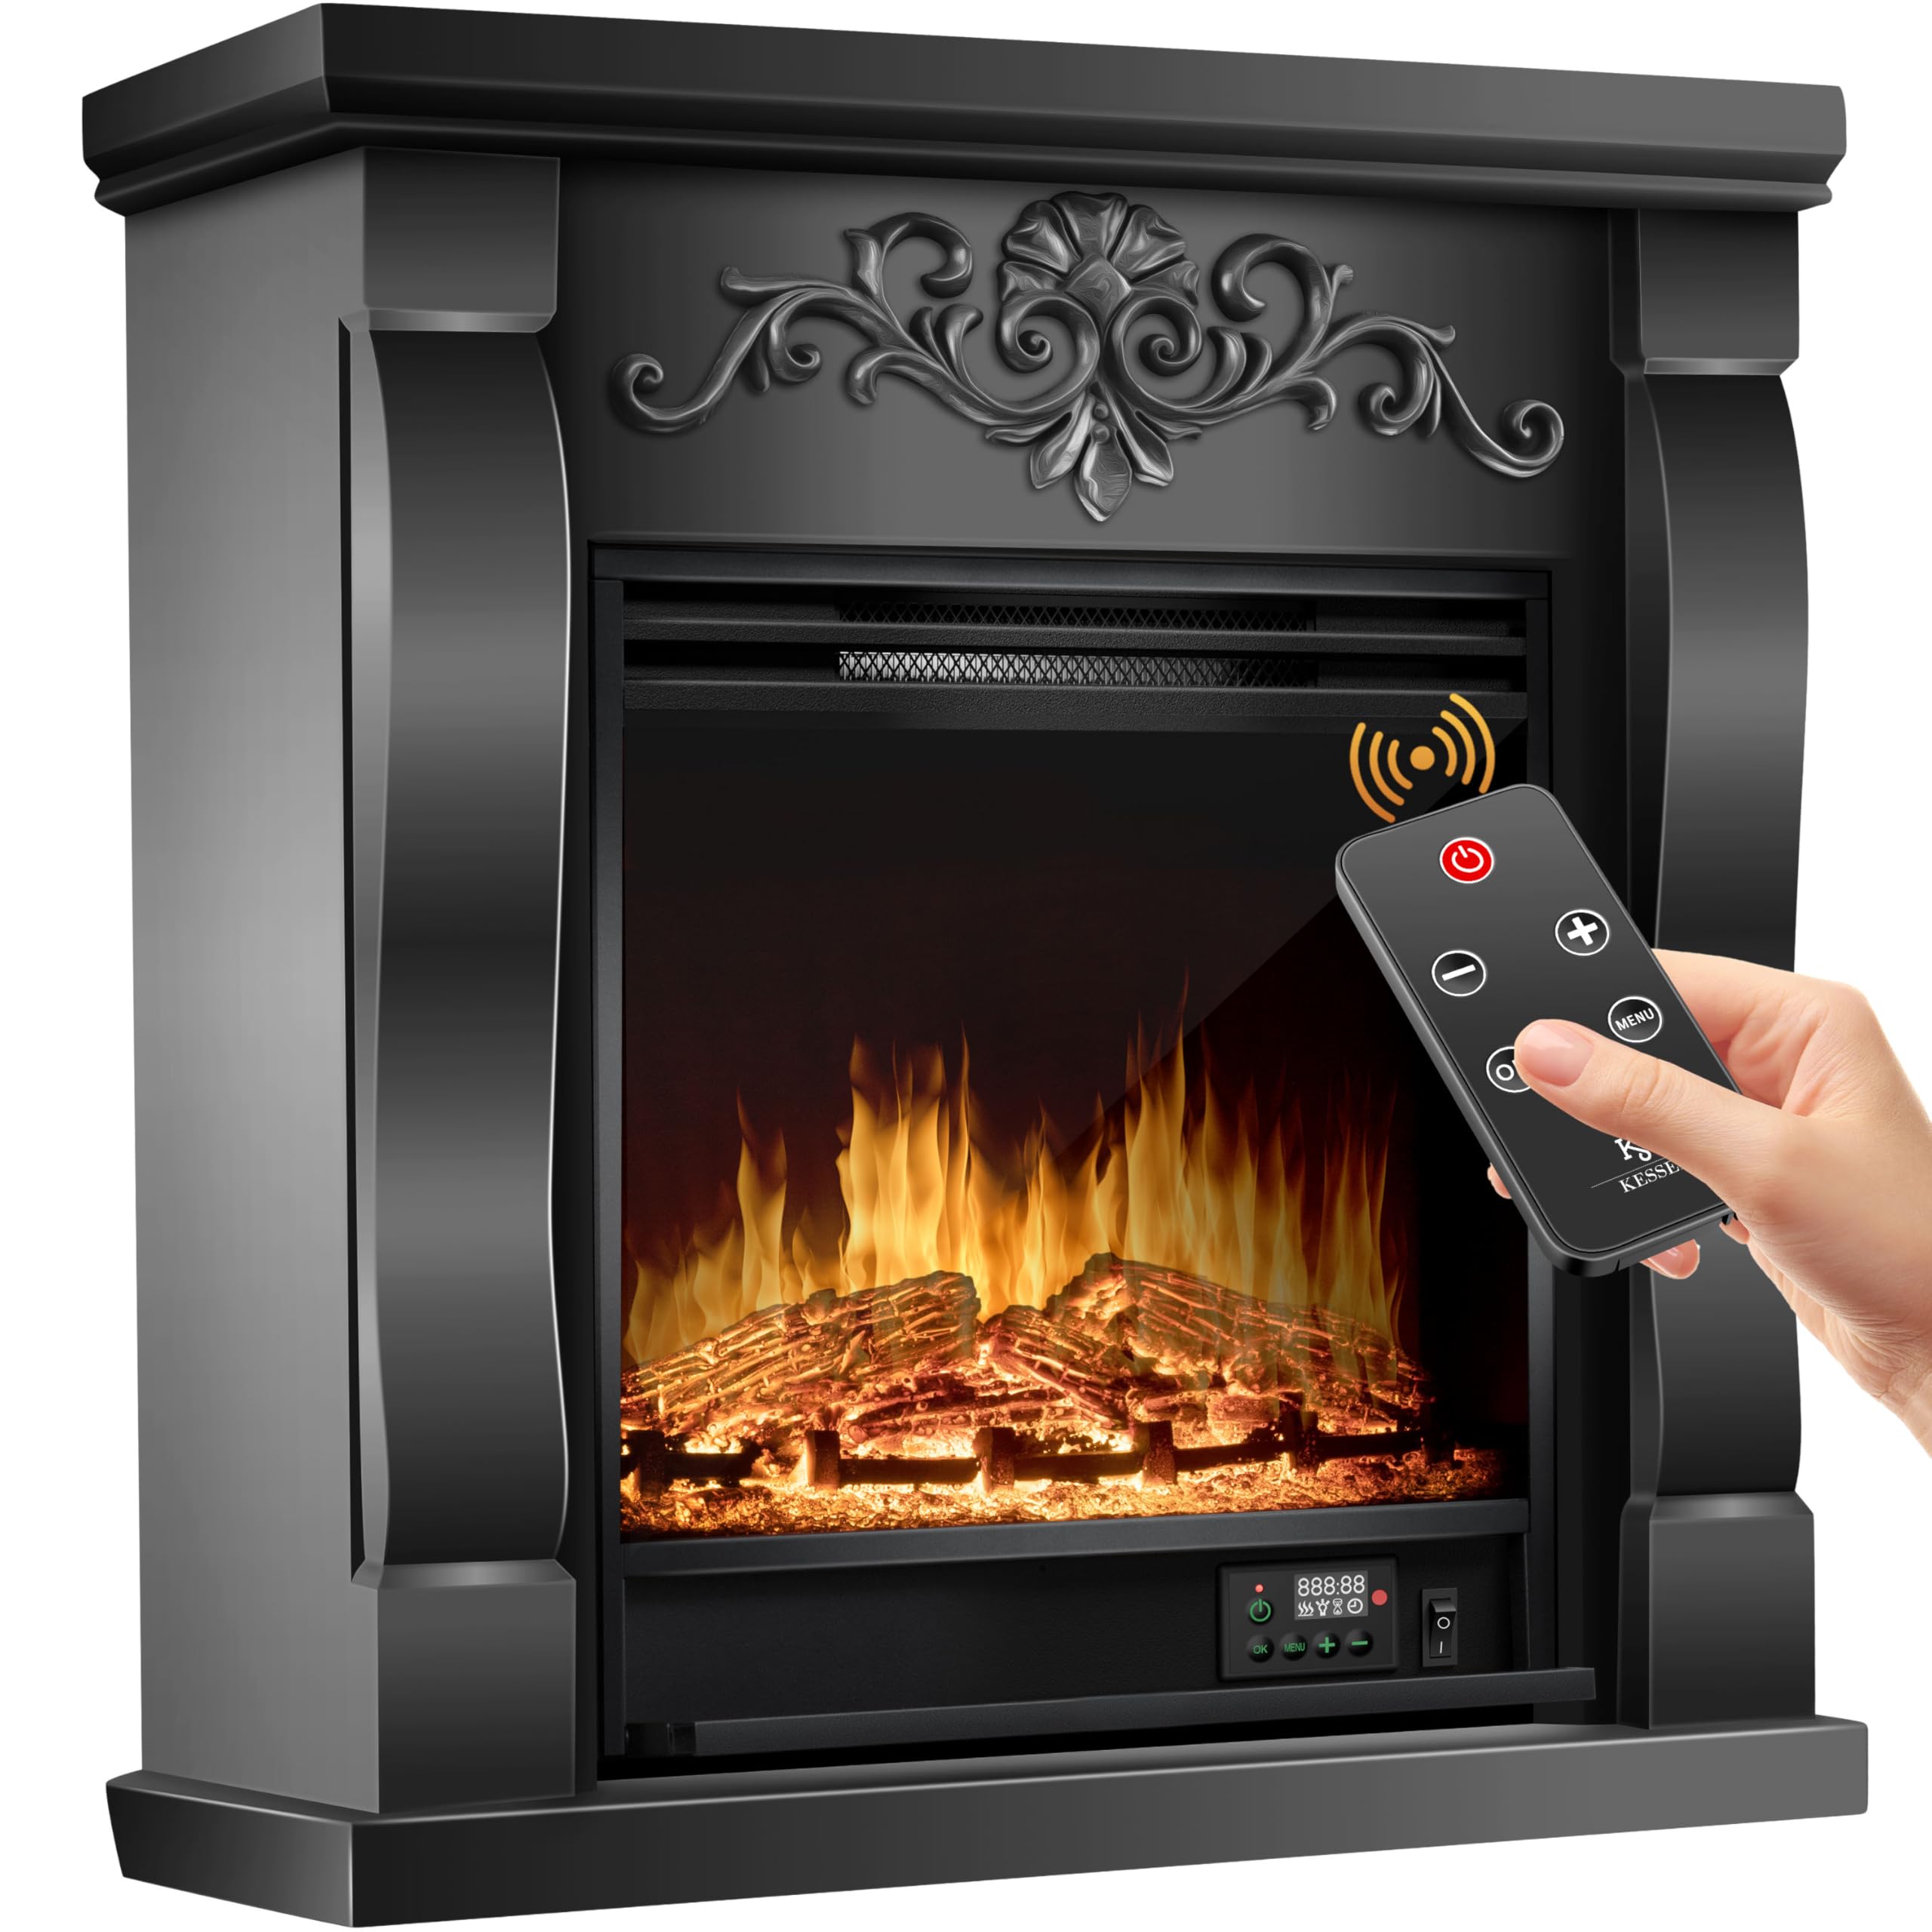
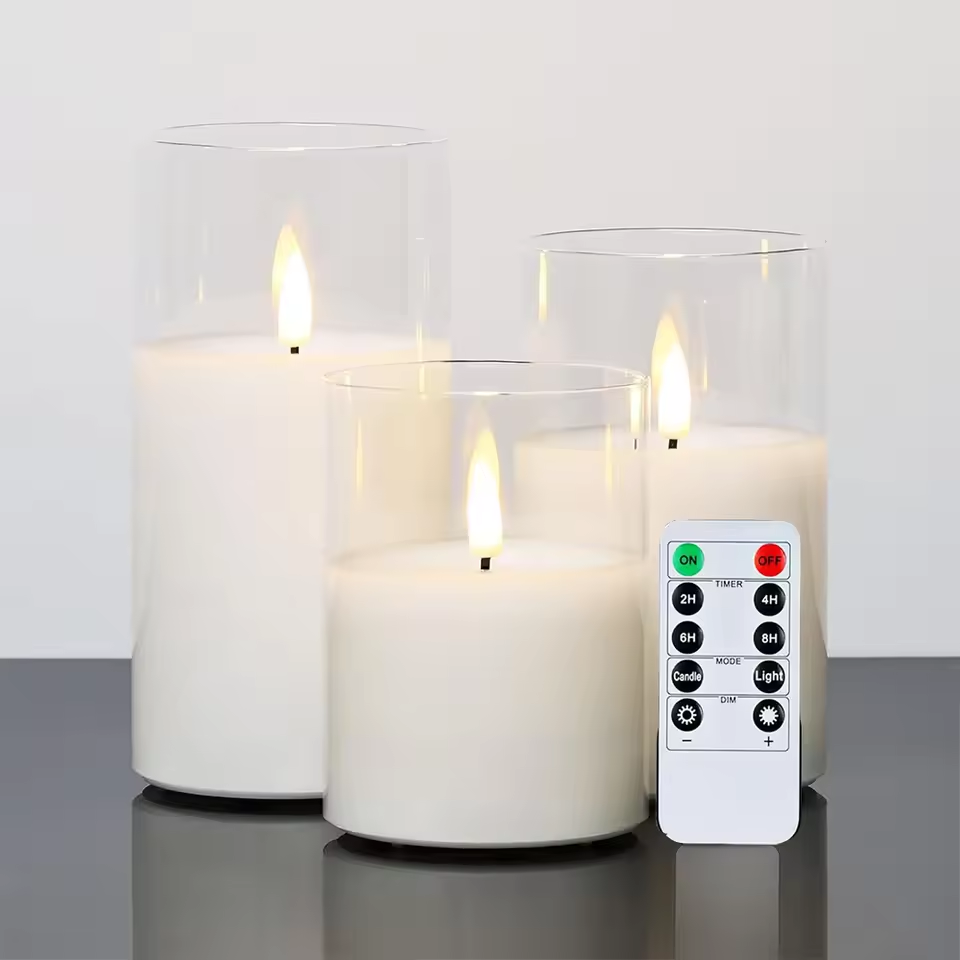
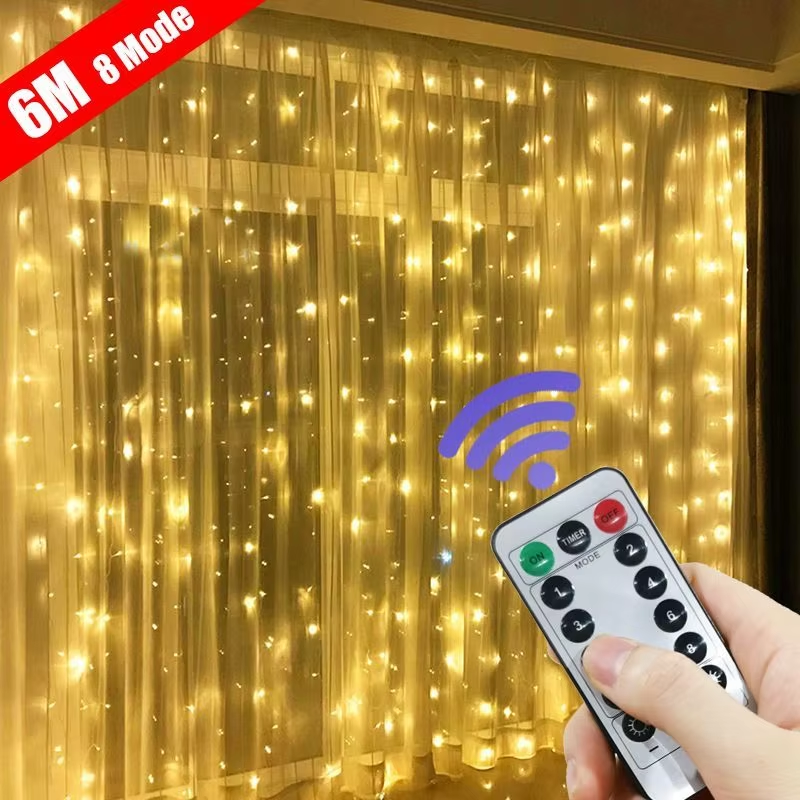
Read further how you can create a switch helper or via buttons on your Home Assistant dashboard, to control your infrared devices!
Now I can also control my dumb infrared-controlled air conditioner via my Stream Deck as well with the Home Assistant integration!
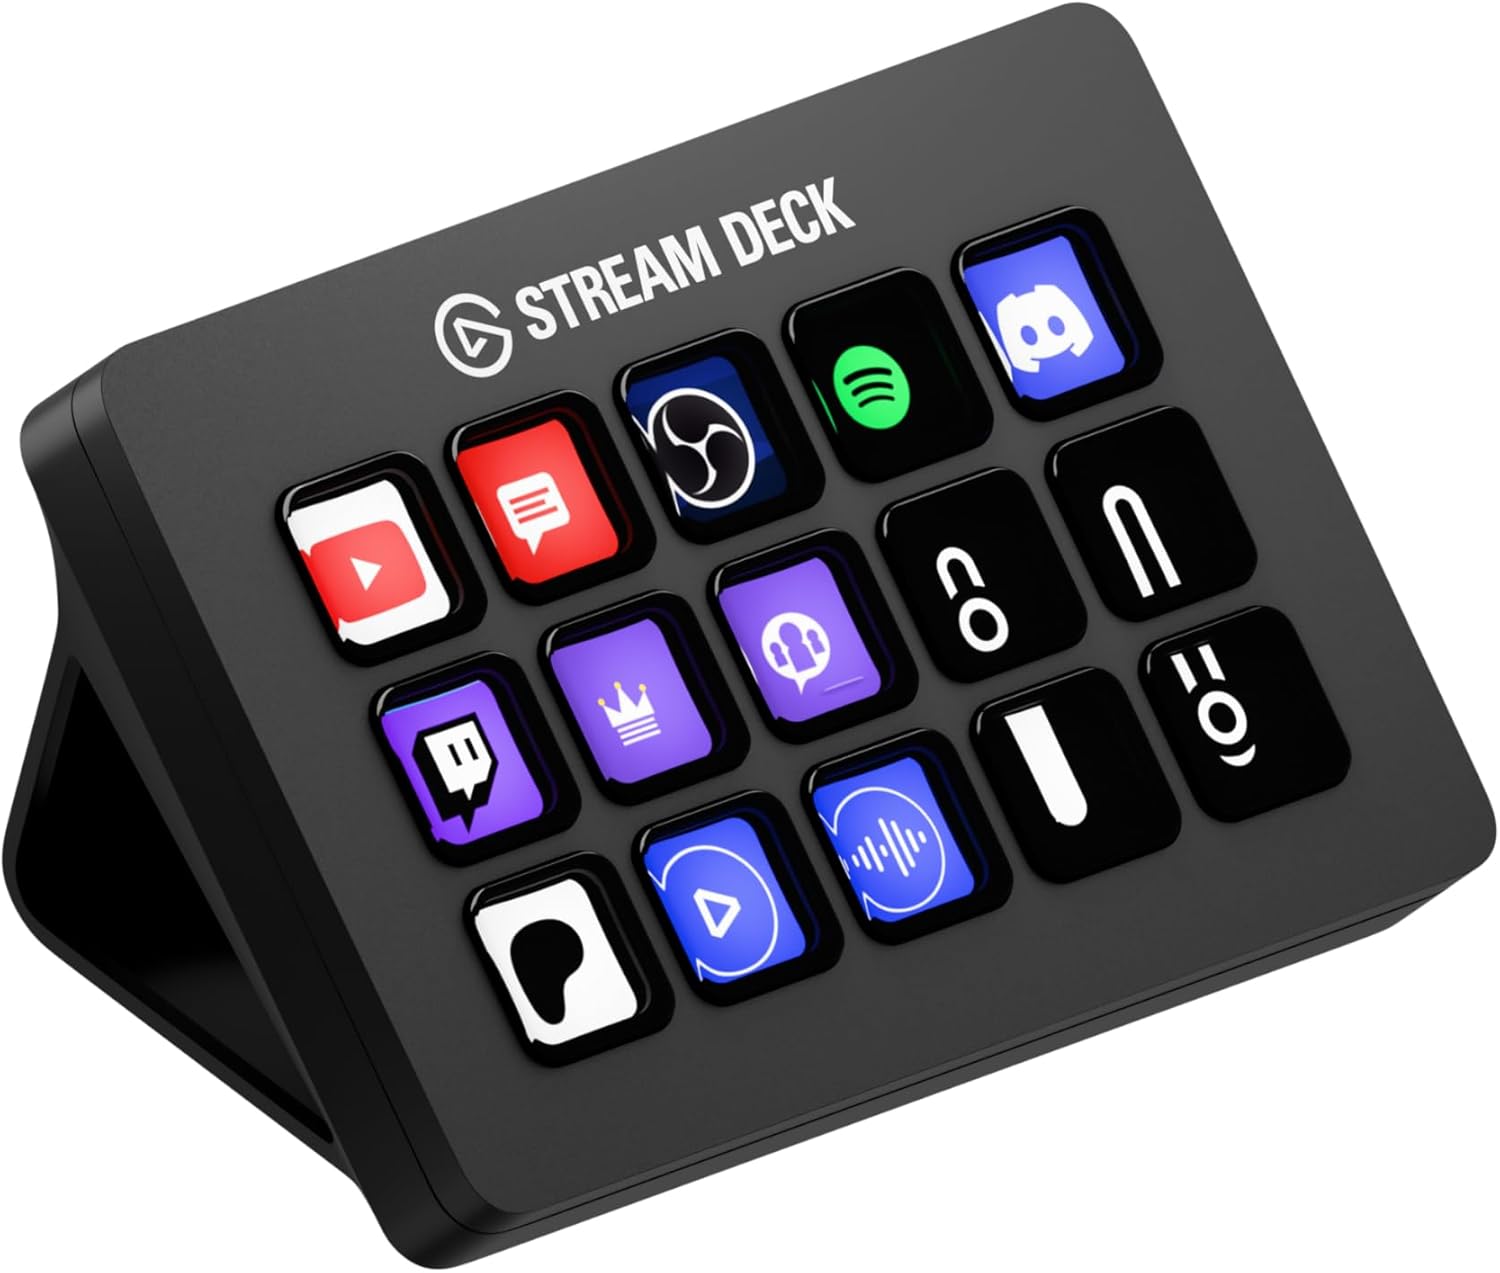 Stream Deck keypad to control dump infrared device next to your computer
NOTE: If you want to know more about the Home Assistant Infrared integration (since 2026.4) check the Home Assistants own blog site.
NOTE: Affiliate links are used on this page. You sponsor my work and still pay the original price.
Video control tea light via Home Assistant
In this video, you see the infrared receiver/transmitter in action.
Now I can control the tea lights via the original remote and also from my Home Assistant dashboard.
Smart infrared transmitter / receiver
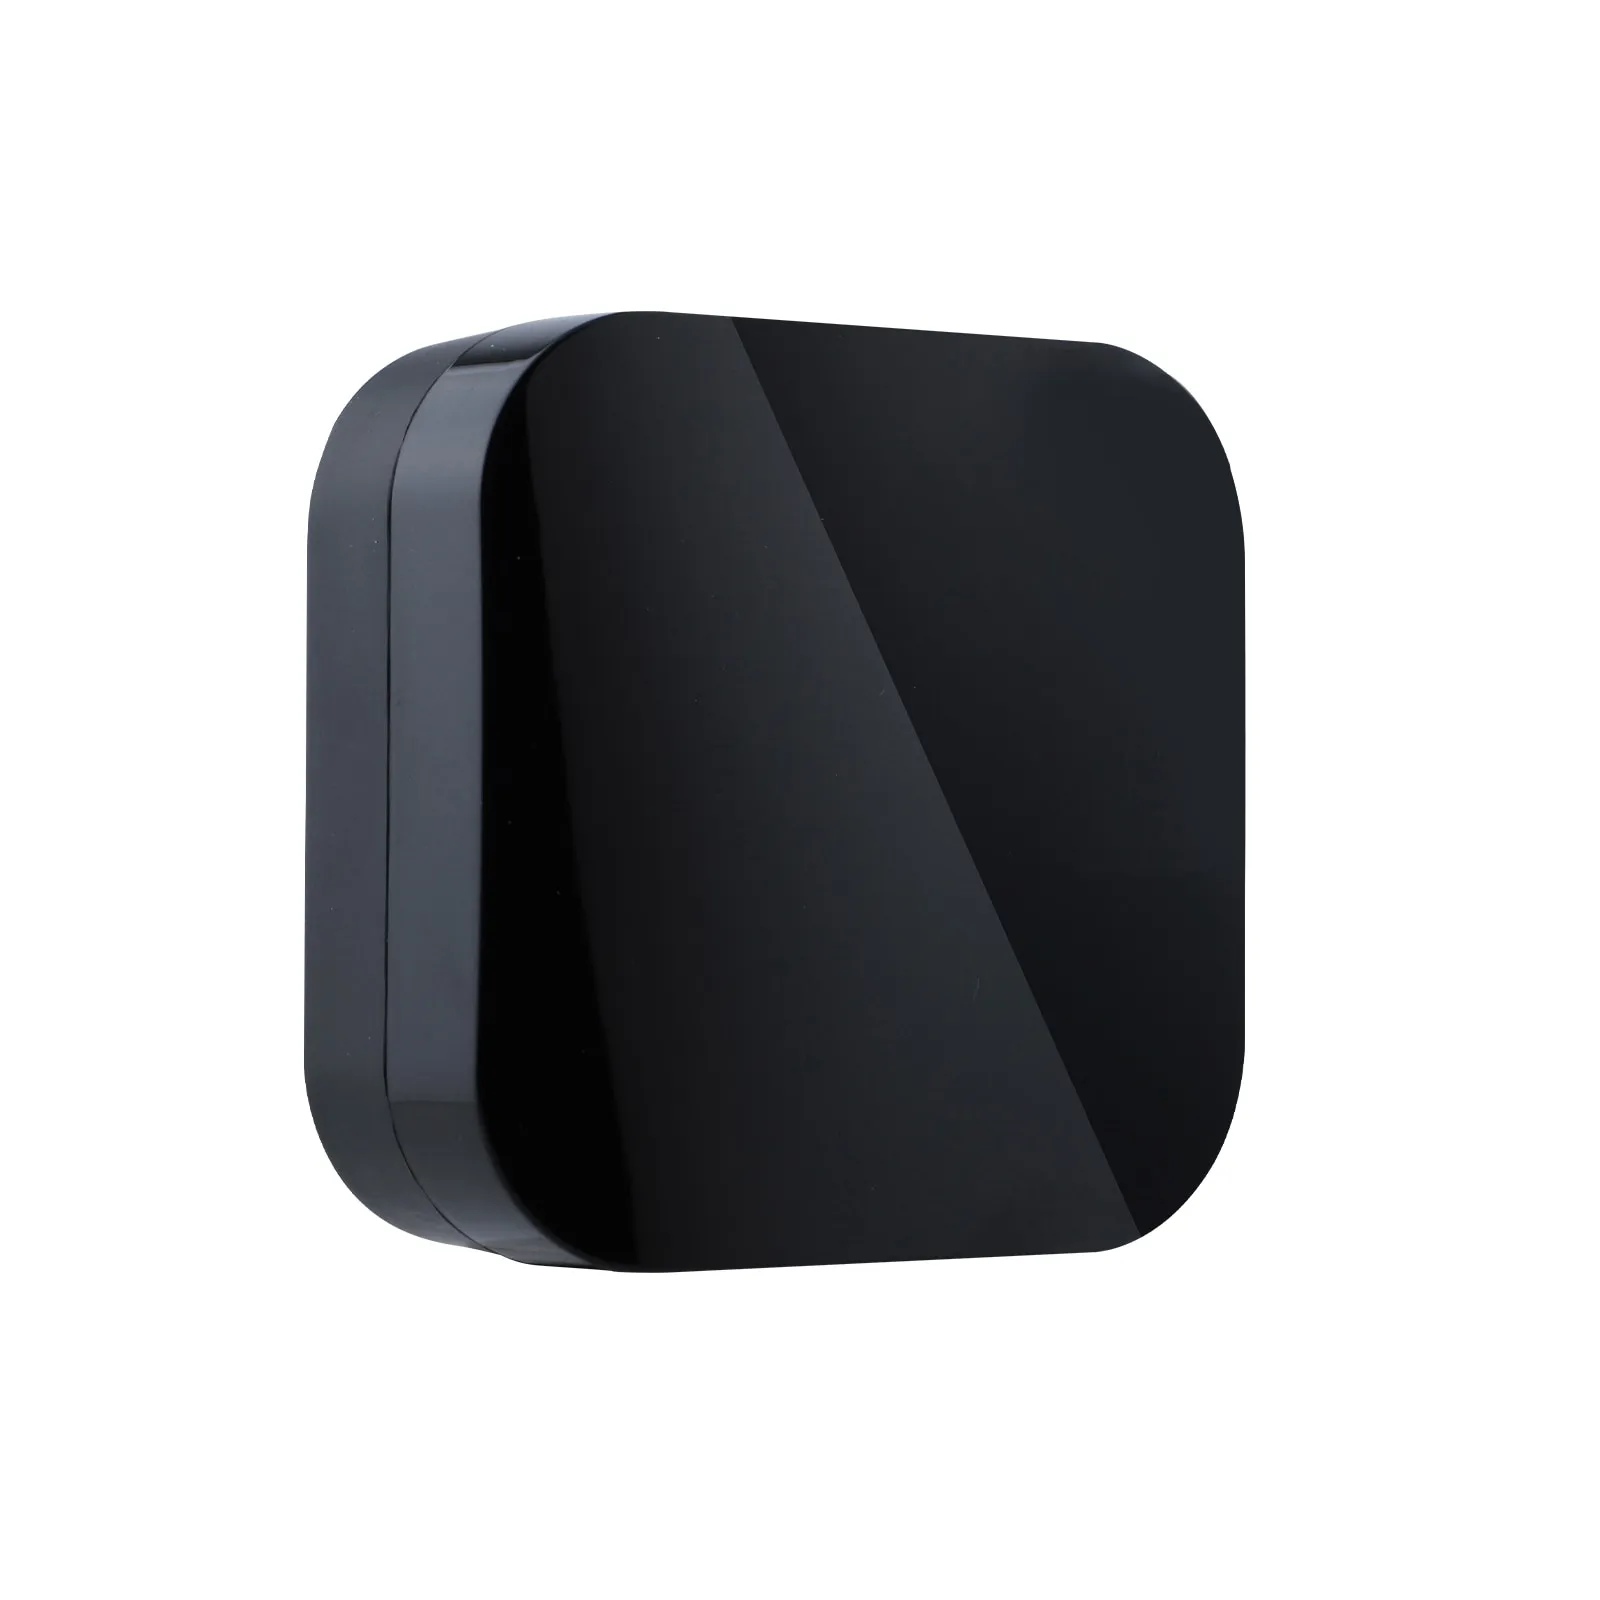 I used for this project the Zigbee IR remote control - Moes (AliExpress)
(Amazon US)
(Amazon NL)
|
I used for this project the Zigbee IR remote control - Moes (AliExpress)
(Amazon US)
(Amazon NL)
|  UFO-R11
With this small black box, powered on batteries, you can control any infrared device.
UFO-R11
With this small black box, powered on batteries, you can control any infrared device.
An infrared sender needs to be in a direct line with the receiver. If you have more devices you want to control, it can be that you need multiple smart devices to control them all.
There are also similar WiFi versions (AliExpress) (Amazon US) (Amazon NL) available of this device.
Another popular WiFi IR remote control is the Broadlink - RM4 Mini (AliExpress) (Amazon US) (Amazon NL)
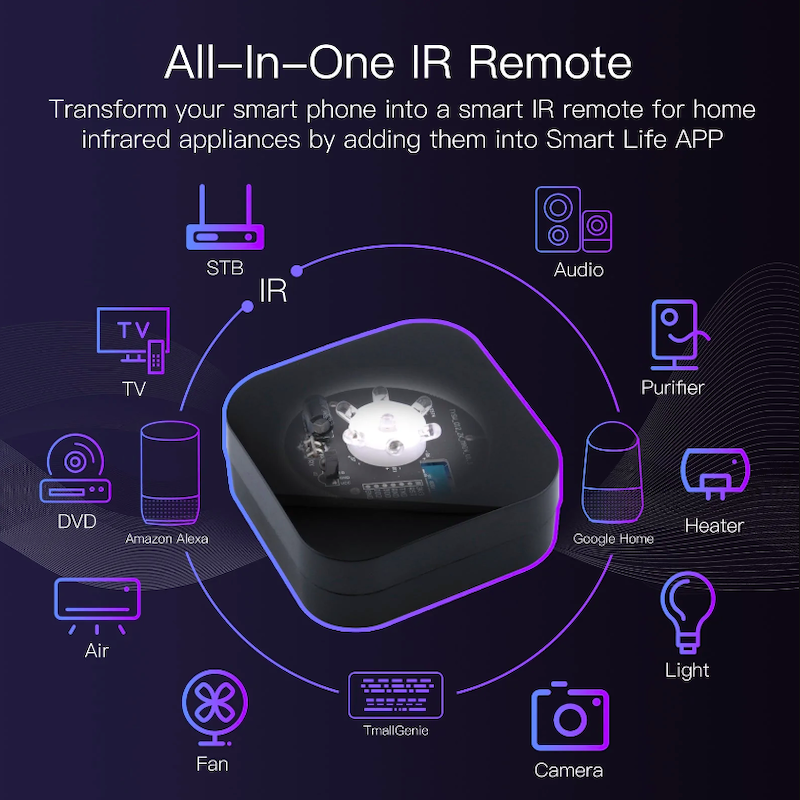
You can set the device in learning mode to copy signals and store the signal on the device.
When you trigger the device with a code, it sends the stored signals but now from this box.
You can save a lot of signals on this box, each button on a remote and that for multiple remotes.
I used this solution also for my Christmas paper star, see my dedicated page about my automated Christmas lights and decorations.
I used this solution also for my air conditioner.
Learning mode
There are multiple ways to set the device in learning mode to receive the IR codes: via the Zigbee2MQTT frontend, for example.
Option 1: via ZHA
This device is also compatible with ZHA.
In this YouTube video is explained how to integrate the UFO-R11 with ZHA.

Option 2: via Zigbee2MQTT
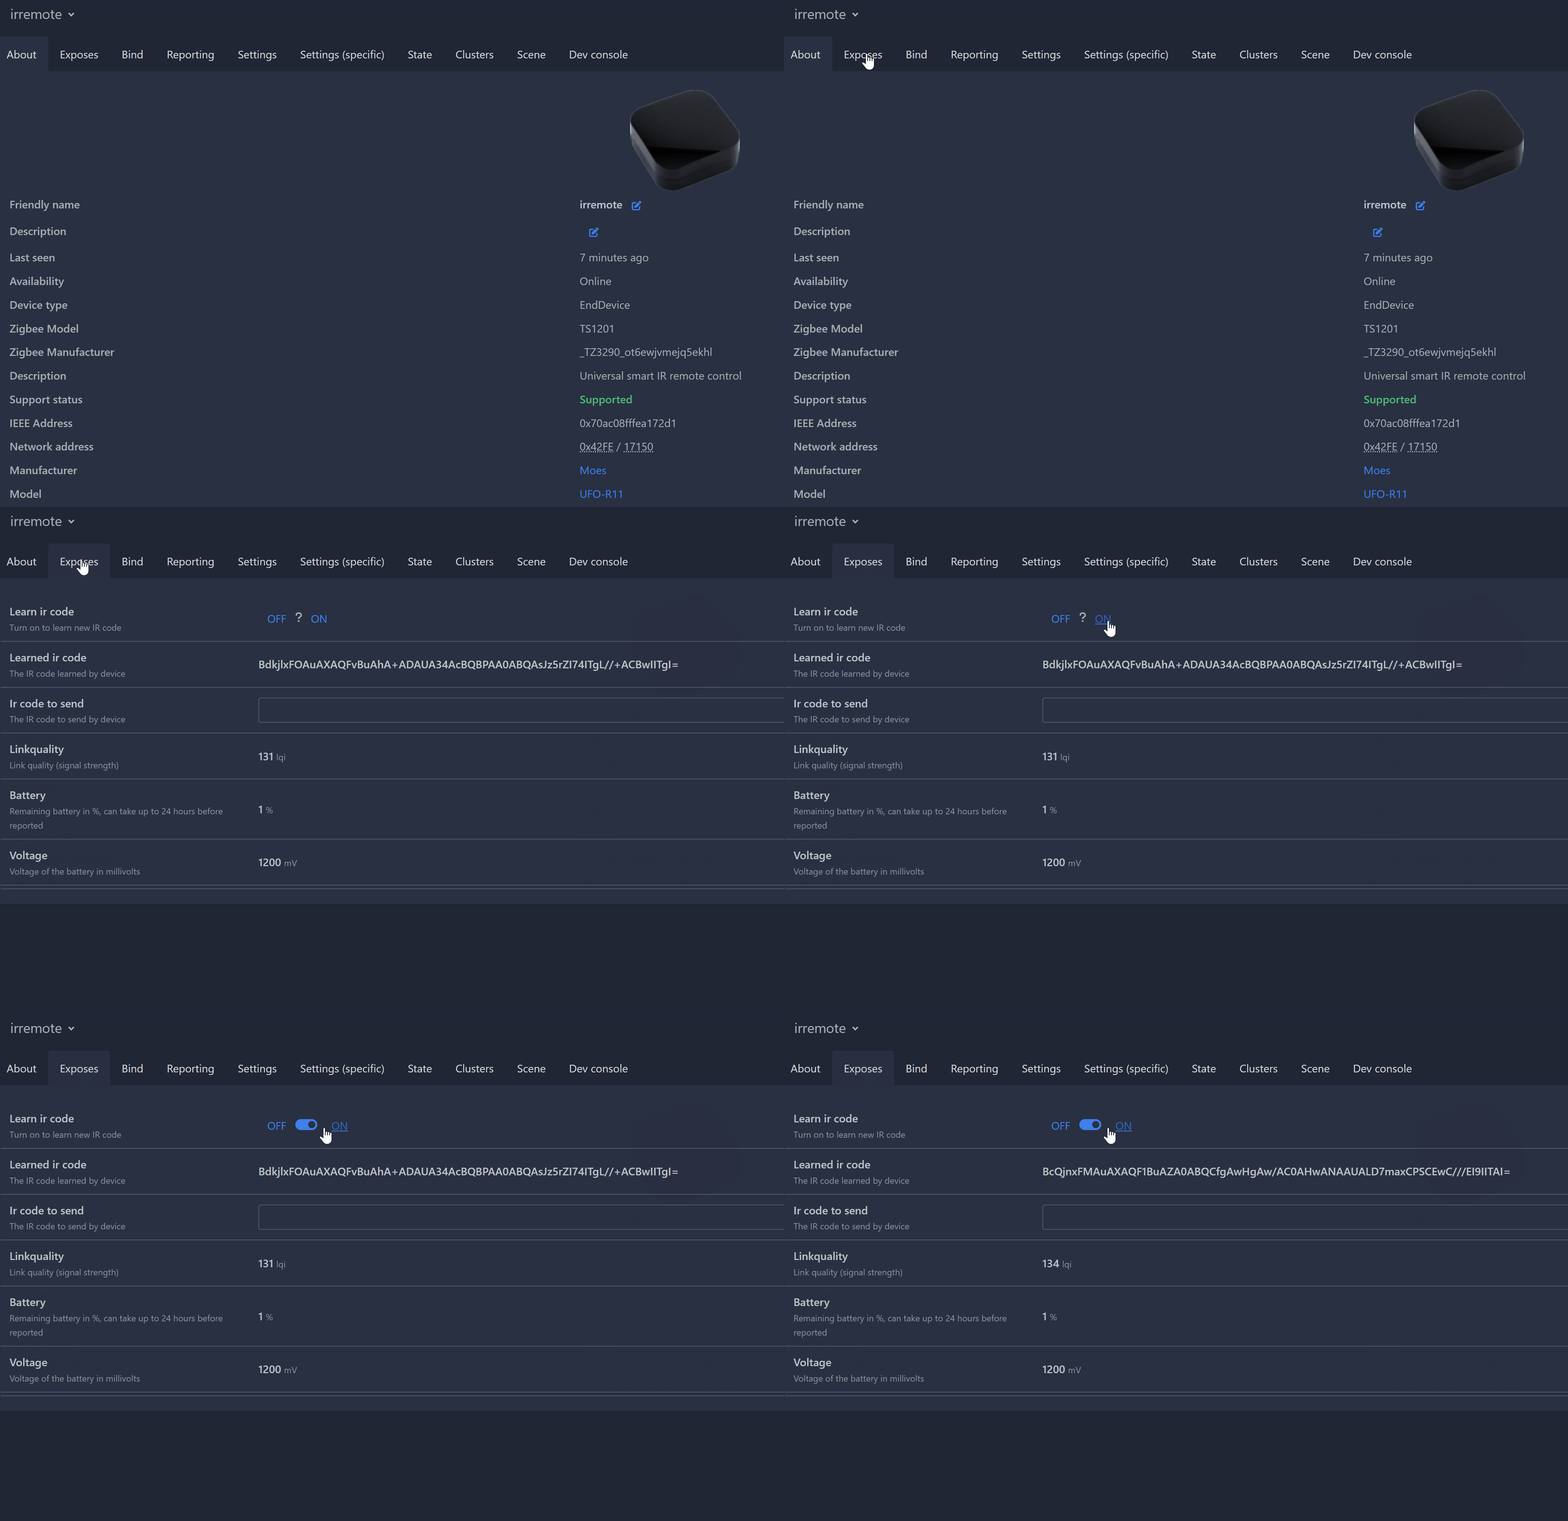
If the device is paired with Zigbee2MQTT, you can go to the frontend and in the Exposes tab you can enable the learning mode.
When you point the original remote to the device, and press a single button, the code will be visible in the second row.
You can test the code by copy it to the input field and press the Enter key, the device sends now the cloned signal.
Option 3: via MQTT
It’s also possible via MQTT.
To learn a new signal, set the device in learning mode by sending this payload to the MQTT topic of the device zigbee2mqtt/irremote/set
{
  "learn_ir_code": "ON"
}
Now a LED light turned on in front of the device.
Now you can hold the original remote in front of the device and press a single button.
The response is sent to the MQTT topic zigbee2mqtt/irremote and contains the infrared code.
You need this code to resend the signal via this same device.
{
  "battery" : 11,
  "last_seen" : "2024-11-03T09:21:03.343Z",
  "learn_ir_code" : null,
  "learned_ir_code" : "Bb8jphFIAuAXAQF9BuAVA0ABwCPgAwFAE0ABwAdAAUALwANAAUALCcqdvyPBCEgC///gAgcCCEgC",
  "linkquality" : 43,
  "voltage" : 1200
}
Resend signal
To resend the signal, send on the MQTT topic zigbee2mqtt/irremote/set this payload to resend the same signal as sent from the original remote.
Make sure your signal is in line with the device because the infrared signal is an invisible light beam. My experience is that the signal can control devices still in a range of 5 meters. Because it works on batteries your free to position the device.
{
  "ir_code_to_send": "Bb8jphFIAuAXAQF9BuAVA0ABwCPgAwFAE0ABwAdAAUALwANAAUALCcqdvyPBCEgC///gAgcCCEgC"
}
If all goes well, the device now also reacts on your box!
Now you can add also other buttons from the remote to the box and clone the signals of other remotes as well.
Now the fun continues to automation the commands! Turn the candles/fireplace on when you enter the room in the evening or whatever scenario you can think of! Enjoy home automation!
Home Assistant
In Home Assistant are different methods to send the infrared signal over MQTT to the Zigbee IR transmitter. This can be done by creating a helper on/off switch sensor, or with a button card.
Via a helper switch

You can define a helper in the graphical interface, then you only need to define the turn on and turn off mqtt.publish action with the topic and payload.
See this configuration.yaml definition how it also can be defined in code.
In the graphical interface are the fields value_template and assumed_state not possible to define.
# Sourcecode by vdbrink.github.io
# Dashboard button card code
switch:
  - platform: template
    switches:
      ac_ir:
        friendly_name: "AC"
        icon_template: mdi:air-conditioner
        turn_on:
          action: mqtt.publish
          data:
            topic: zigbee2mqtt/irremote/set
            payload: '{"ir_code_to_send":"<ON_CODE_HERE>"}'
        turn_off:
          action: mqtt.publish
          data:
            topic: zigbee2mqtt/irremote/set
            payload: '{"ir_code_to_send":"<OFF_CODE_HERE>"}'
        value_template: "{{ is_state('input_boolean.ac_state', 'on') }}"
        assumed_state: true
helper switch defined in configuration.yaml in HA
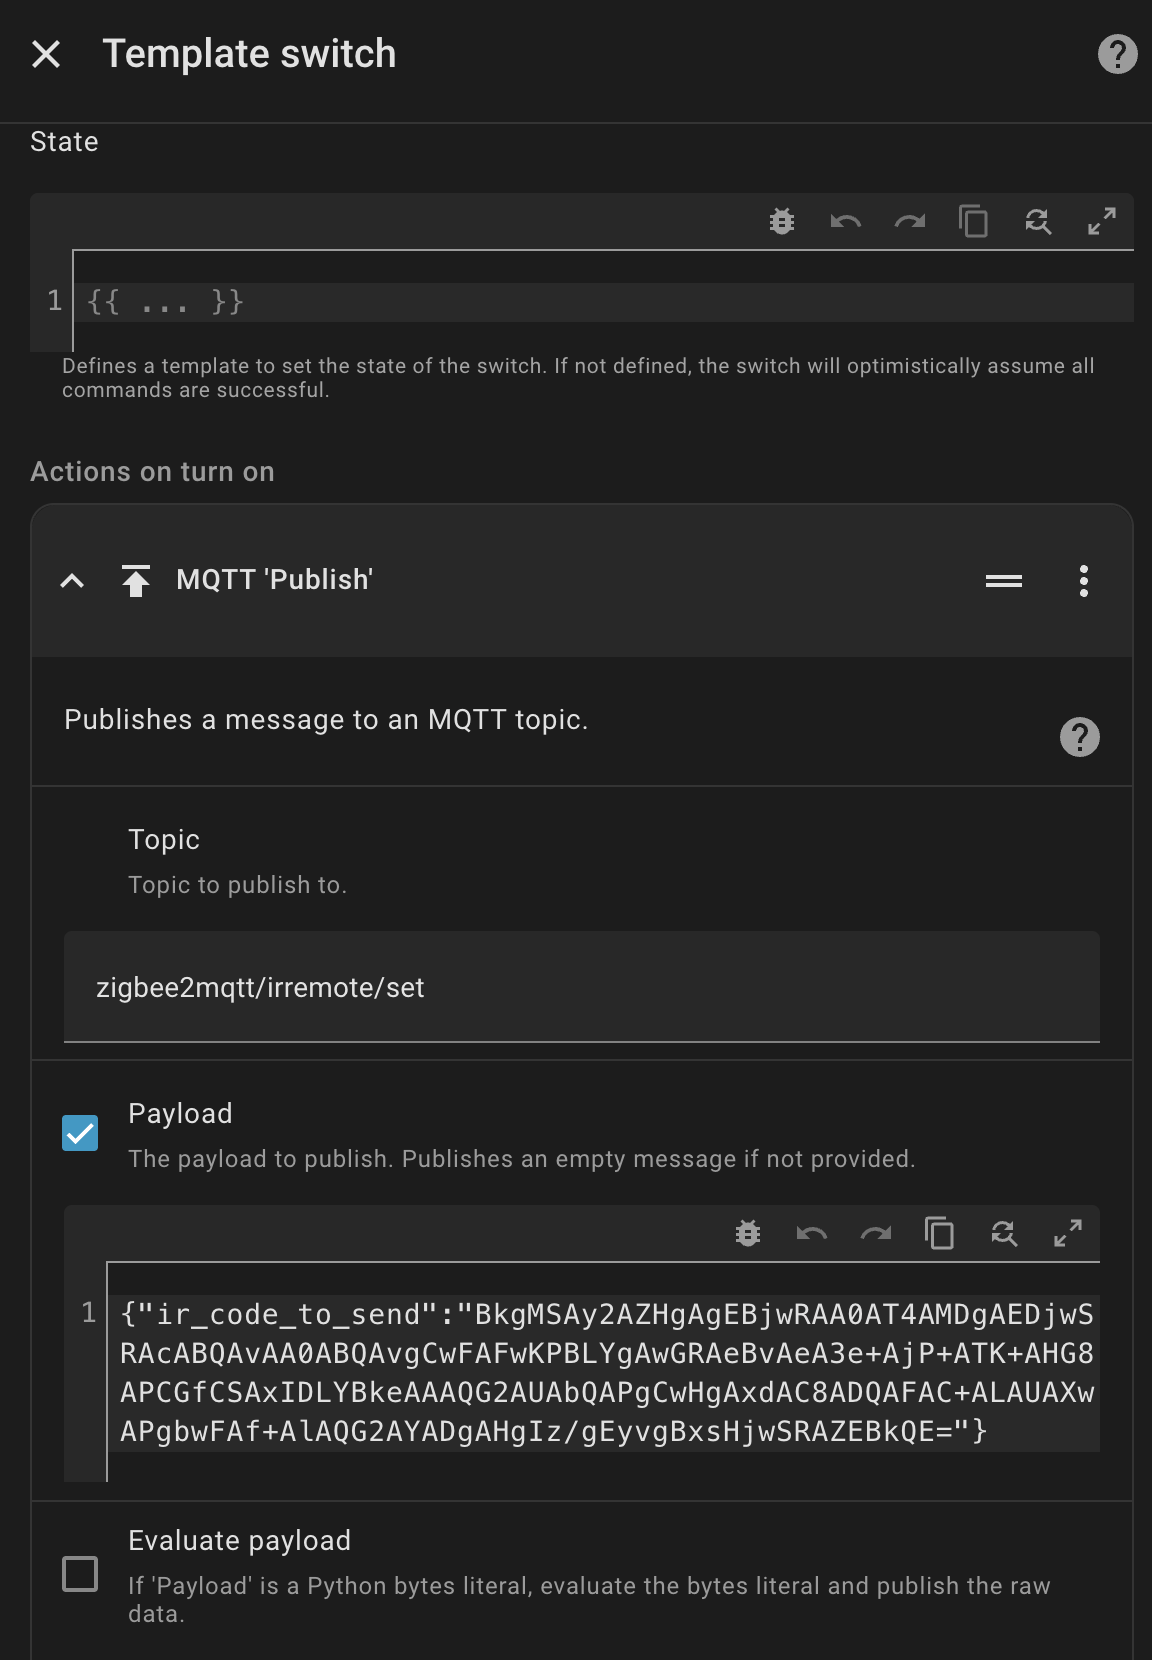
helper switch frontend configuration in HA
Via Button Card
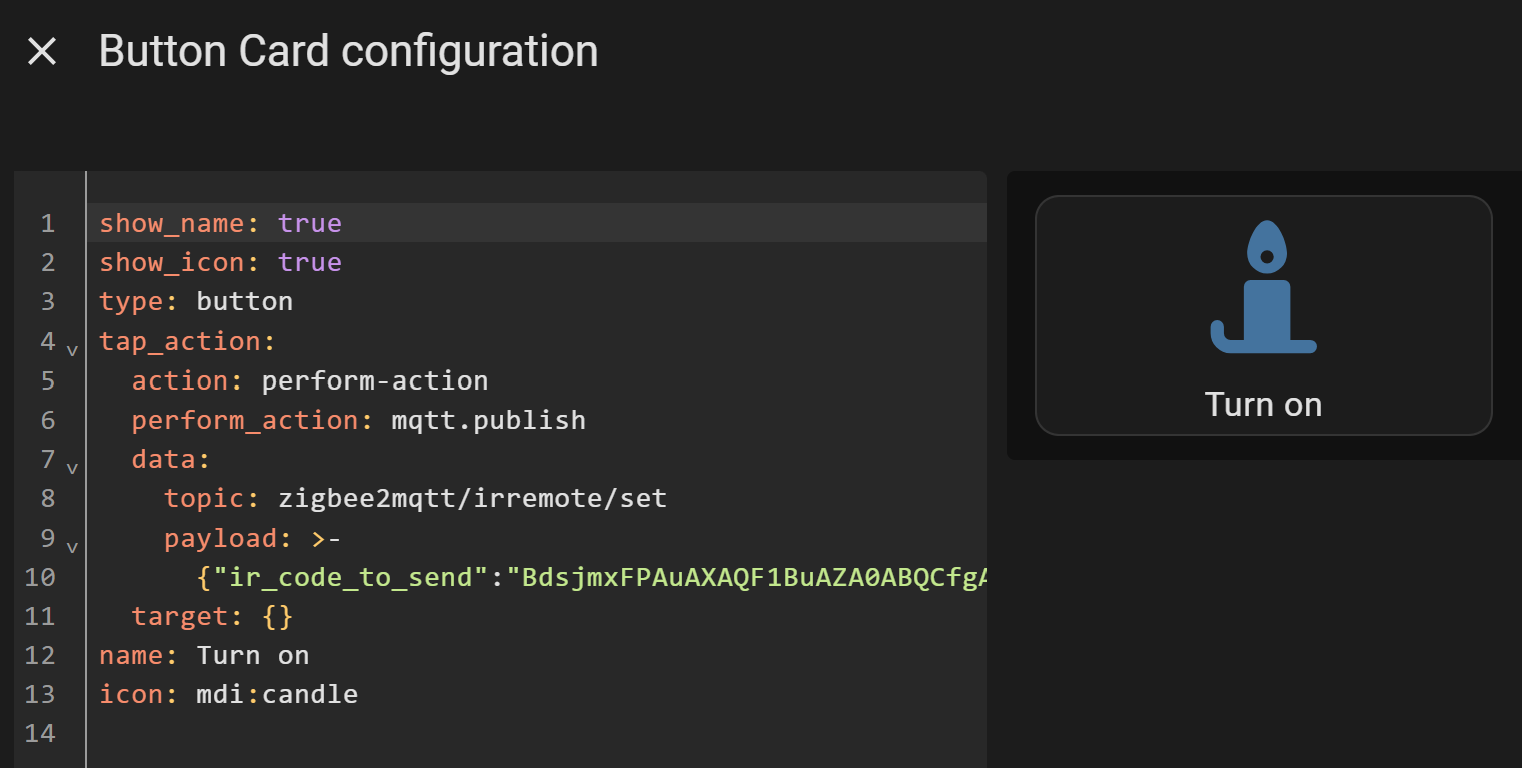
From Home Assistant, you can create buttons on your dashboard and send a MQTT events with a specific copied infrared signal to the infrared device topic.

# Sourcecode by vdbrink.github.io
# Dashboard button card code
show_name: true
show_icon: true
type: button
tap_action:
  action: perform-action
  perform_action: mqtt.publish
  data:
    topic: zigbee2mqtt/irremote/set
    payload: >-
      {"ir_code_to_send":"BdsjmxFPAuAXAQF1BuAZA0ABQCfgAwHgAw/AC0AHwANAAUALCdma2yO3CE8C///gEgcCCE8C"}
name: Turn on
icon: mdi:candle
You can also create a script which contains the MQTT event and call this script from an automation.
For readability, I place it here direct on the dashboard as action for a button.
Hardware
These hardware devices are examples of what you need and can use in your own infrared automations.
Infrared transmitter / receiver
Some examples of Zigbee and WiFi devices which act as programmable infrared remotes. They can learn signals from the original remote, and via WiFi or Zigbee you can resend the copied signal via an automation. There are also devices that support RF signals as well. I use in these examples the Zigbee Moes UFO-R11.

Infrared controlled devices
As mentioned in the introduction, there are a lot of devices that can be controlled via infrared. Here are some links to products which all work via infrared, and can be controlled via the above-mentioned infrared transmitter / receiver.
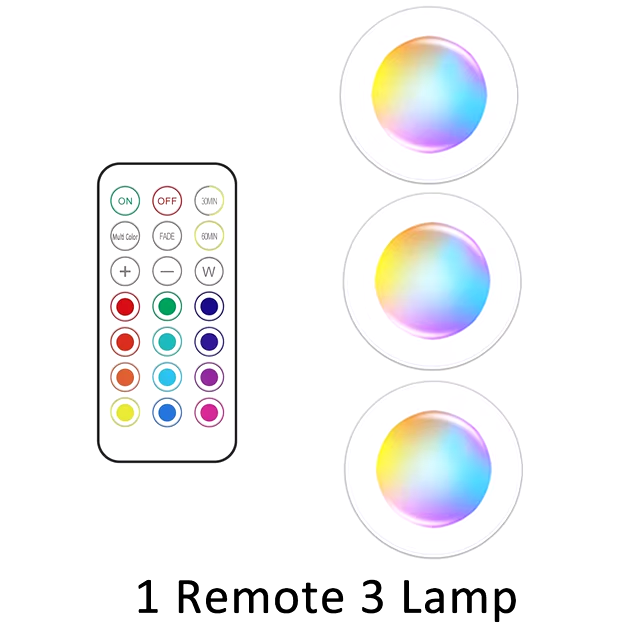
LED lights with different colors and brightness, controlled by a remote.

Light curtains controlled by an infrared remote.

Tea lights controlled by an infrared remote.

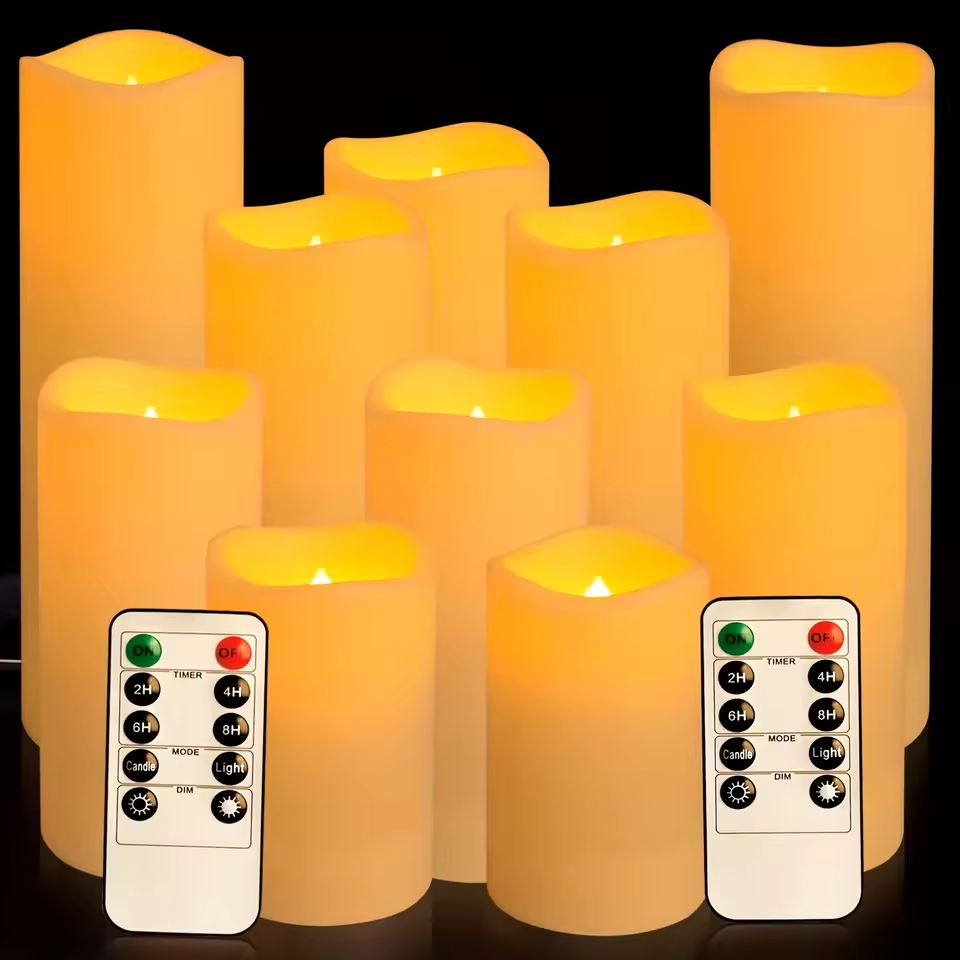
Candle lights controlled by an infrared remote.
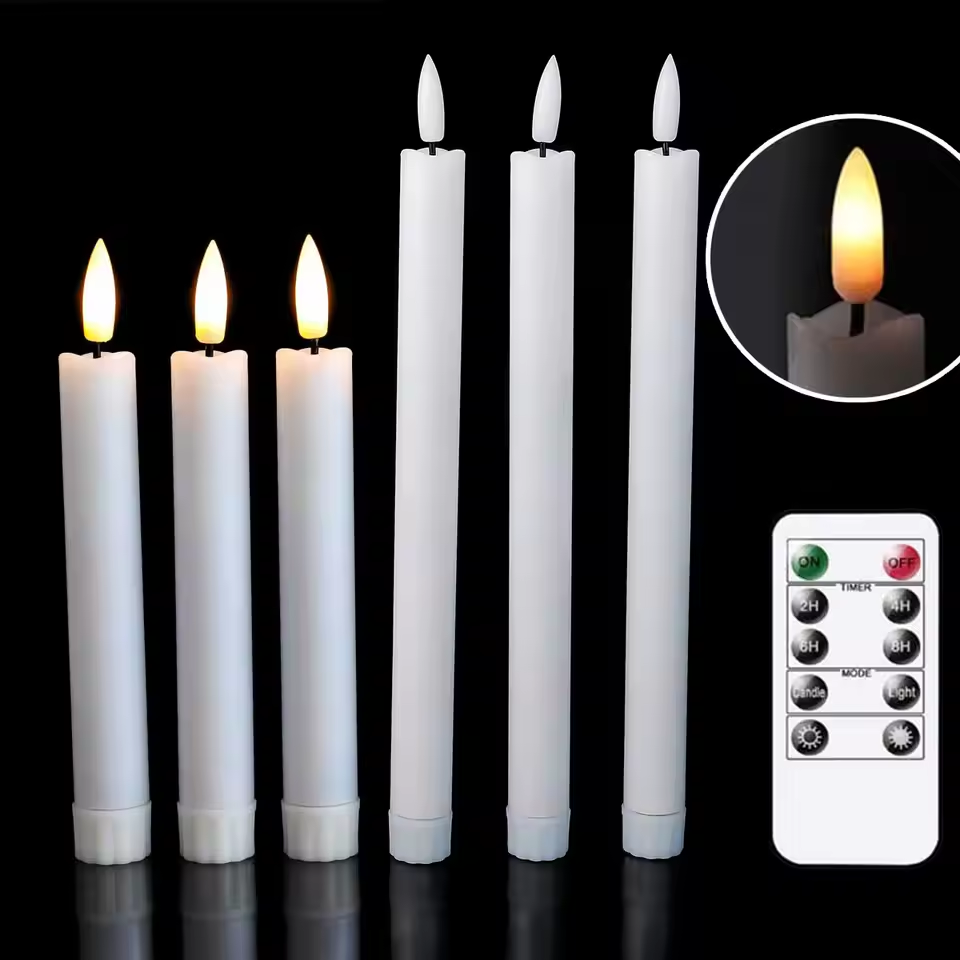
Long candle lights controlled by an infrared remote.
Also, some Christmas decorations have an infrared remote, see my dedicated page how I used this project for it.
Physical stores
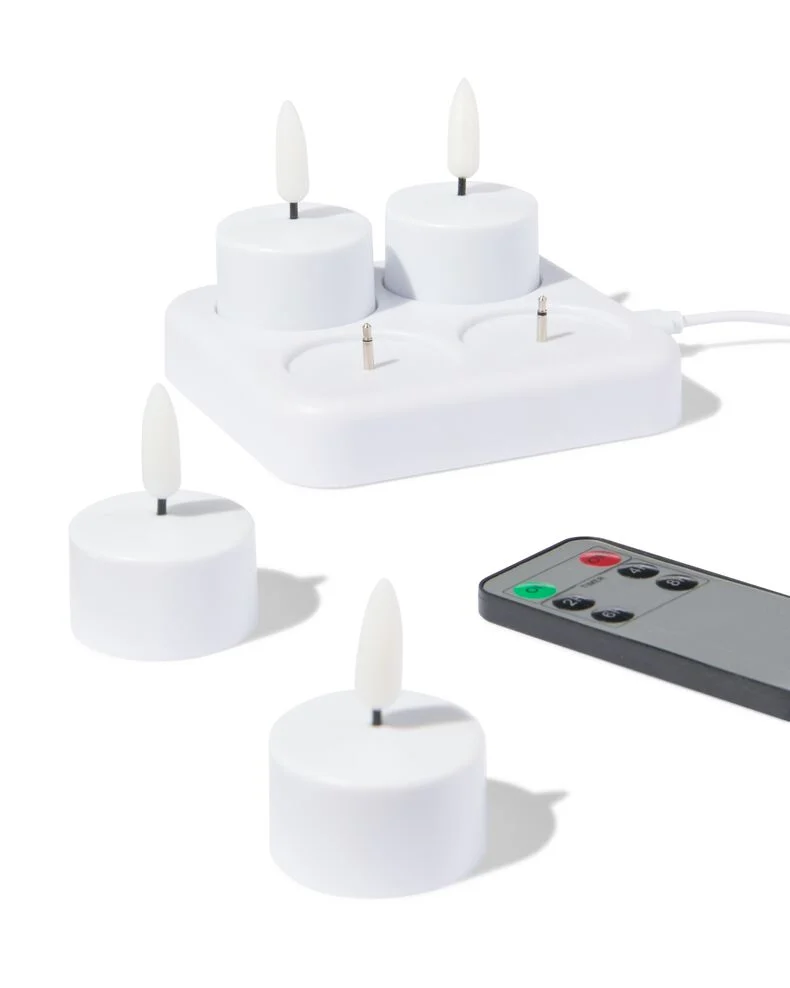
The Dutch Hema sells 4 rechargeable tea lights with a remote.
Online models
Here you find a list of different infrared remote control devices.
Where do you use the infrared transmitter / receiver for in your smart home?
See also my other Home Automation - Ideas page or my automated Christmas lights and decorations.
^^ Top | Homepage | Best Buy Tips | Automation Ideas | Blog posts | Sitemap